Blog. Food Reviews. Recipes

Thursday, January 29, 2009

Recipe Of The Day: Easy Smothered Style Chicken


I guess I'm on a chicken kick! lol I actually cooked this last week. I'm just now getting around to posting it.

This is my simple version of a smothered fried chicken. You could do this with gravy and onions if you like. I had a can of Cream of Chicken, and just thought I'd throw this together. So here we go...


Prep Time: 15-20 Minutes
Cook Time: 30-45 Minutes
Serving Size: 4-6 People

Ingredients:

4-5 Pieces of Chicken (I had Quarter Legs, and just cut them up)
1 Can of Cream of Chicken
1 Cup of Milk (or just fill the Cream of Chicken can with milk)
Flour for dredging
Oil for frying
Paprika
Salt
Pepper
Onion Powder
Poultry Season
Garlic Powder


Take all of your seasonings, and coat chicken pieces. Be sure to get a good amount on there. Coat both sides. Sorry, I did not measure this. It should look like this.


Dredge in flour. Coat both sides. Tap off excess.

Heat a large pan or skillet on medium heat. Add in enough oil to cover bottom of pan. We do not want to cook the chicken. You just want to fry it enough to get brown on both sides. I would say cook chicken about 2-3 minutes on both sides. You just want a nice golden brown color.
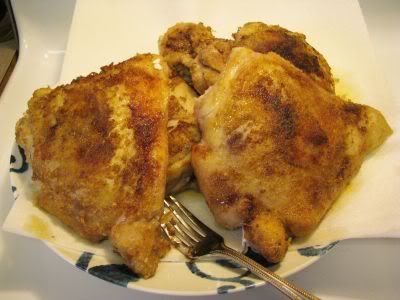
Remove chicken from oil, and drain on paper towels. Set aside.

In the same pan. Drain oil. You can leave the crispy bits that were in the bottom of the pan. Throw a little bit of water to get the bits up. Scrape the bottom of the pan a bit. Open your can of Cream of Chicken. Throw that in there. Take the empty Cream of Chicken can, and pour in milk all the way to the top. Then add that to your pan. Mix well. I used a whisk to mix the two. Keep your stove on medium heat.


Once your mixture is well incorporated. Add your chicken back into the pan. Get a spoon, and start spooning Cream of Chicken over all of the pieces. Be sure to coat them good. You can turn your heat down to medium low. Cover. Let simmer for 30-45 minutes. Check it every so often and continue to spoon sauce on. You can also turn the pieces over and then continue to cook.
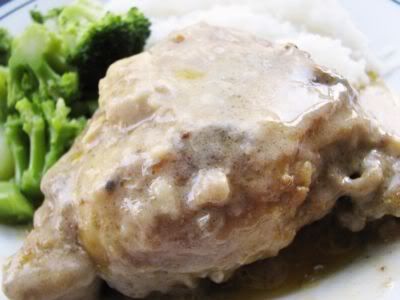
This is what you will get once it's done. The sauce started off looking bright yellow! lol But, after it cooked down a while this is how it looked. You can also add a bit of salt and pepper to taste, if it needs it. Yum Yum!

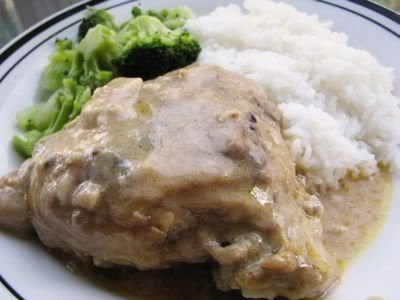
As you can see I served it up with rice and broccoli. We love our rice! I like to splash a bit of Tabasco on it for a little kick. Be easy! Enjoy!

~Feather
Read more!

Monday, January 26, 2009

Recipe of The Day: Mochiko Chicken


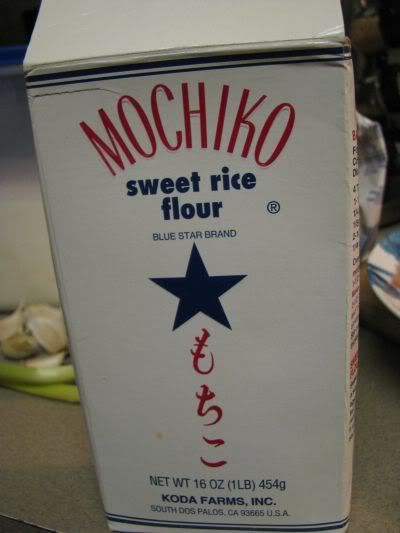
Woo! Mochiko Chicken, another Hawaii favorite. This is another Japanese style fried chicken. It uses the light Japanese Mochiko Sweet Rice Flour. It has a nice delicate flavor and is very easy to prepare.

I know fried foods aren't good for ya,but I've been itching to make this. I haven't made it in a long time. Plus, I've never featured it on the site. Like I said, this is a popular local dish in Hawaii. You'll find in a lot of bentos or plate lunch specials. Very simple to make and the longest part is just the marinating. So here we go...


Prep Time:20-30 minutes (Mostly Cutting stuff for marinade)
Marinade Time: 4hours-Overnight (Overnight is the best)
Cook Time: 20-30 minutes(depends on how much chicken you make)
Serving Size:4-6 people

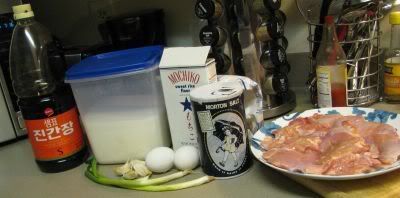
Ingredients:
2-5 lbs boneless chicken thighs (or you can be like me and debone your own chicken)

1/4 cup Mochiko Sweet Rice Flour

1/4 cup Cornstarch (I did not have cornstarch. So, you can substitute 2 tablespoons flour for every tablespoon of cornstarch. If you don't have any either)

1/4 cup sugar

1/2 teaspoon salt

2 Eggs

5 tablespoons Shoyu (Soy Sauce)

4-5 Cloves of Garlic

1/2 Cup of Green Onion

1/2 teaspoon Fresh grated Ginger

Sesame Seeds are optional


You want to start off by taking your chicken and cutting it into bite sized pieces. After I deboned all of my chicken, I took my kitchen shears and cut it up. I placed all of my pieces into a freezer storage bag. Next, in a mixing bowl. Combine all of your dry ingredients. Sift the Mochiko and Cornstarch into the bowl, and then add the sugar and salt. Mix well. In another small bowl, combine your egg, shoyu, garlic cloves, and ginger. Whisk lightly. Add into dry ingredients. You can also throw in the green onion. Mix well. It will be a little thick, batter like. If it's to thick add a little bit of water.

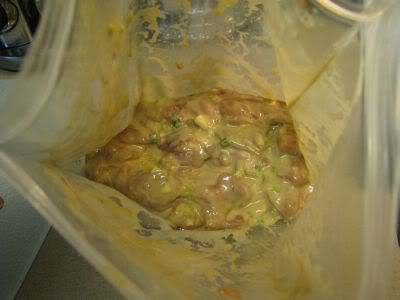
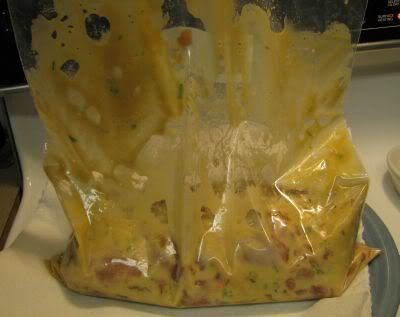
Pour mixture into bag with chicken. You should have something that looks like this. I try and get all the air out of the bag, and then seal it up. You can try and squish it around so that the marinade will get all over the pieces. Then just toss it into the fridge for 4 hours or overnight. I suggest doing it overnight. It will be onolicious!


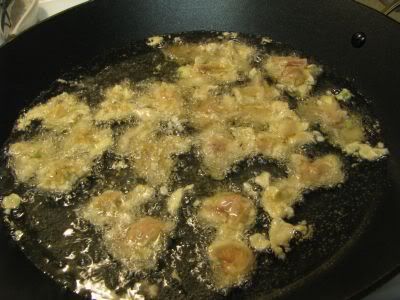
Okay, fill a large skillet with some oil. Not to much oil. Just enough so your pieces aren't touching the bottom of the pan. They need to float. Heat the skillet on medium heat. Grab your chicken out the fridge. Once your oil is hot. Start taking the pieces out of the bag and dropping them directly into the oil. You can throw a whole bunch in at once. Then start breaking them up as they start to fry. Or you can drop them in one at a time. I like to throw a whole bunch in at a time. lol
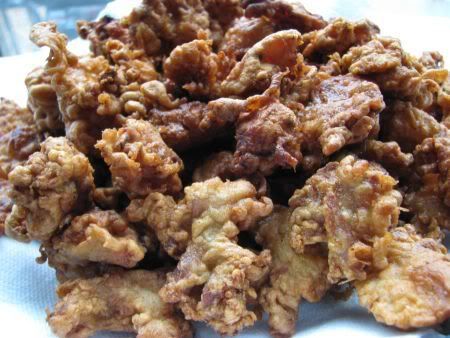
It should look like this. We want them to get a nice golden brown. So let them brown on one side. Then start flipping them over to brown on the other side.


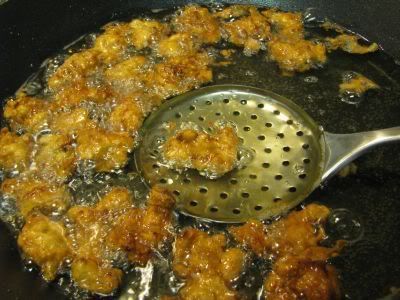
Once all of your pieces are brown, remove and drain on paper towels. I like to use this holey spatula thingy. lol I don't know what that thing is called. LOL It's good for getting a whole bunch of pieces out at once. Plus it takes all those little bits that can burn up.


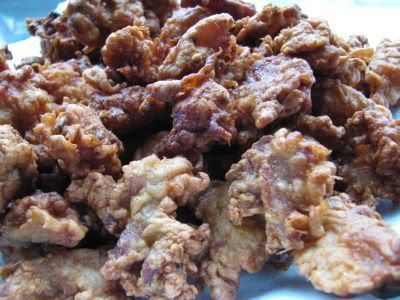
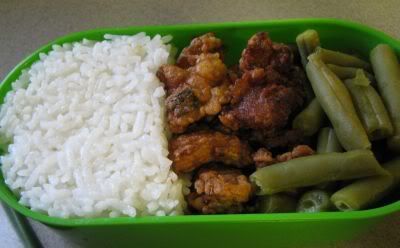
And that's it! Your done! Serve with hot rice and a veggie of your choice. I did green beans today. You can also make a sauce. I prefer them sauceless. JP mixed up some Ko Ju Chung to eat with his.


JP and I, are also trying to make Bentos. We want to cut our portions down and to try and eat healthier. I've been reading many Bento blogs, and the benefits of making and eating Bentos. So, here is my first attempt at it. I know Mochiko isn't healthy, but we have to ease into it. LOL Here is here is my little packed Bento. Hope you enjoy!

~Feather
Read more!
Saturday, January 24, 2009

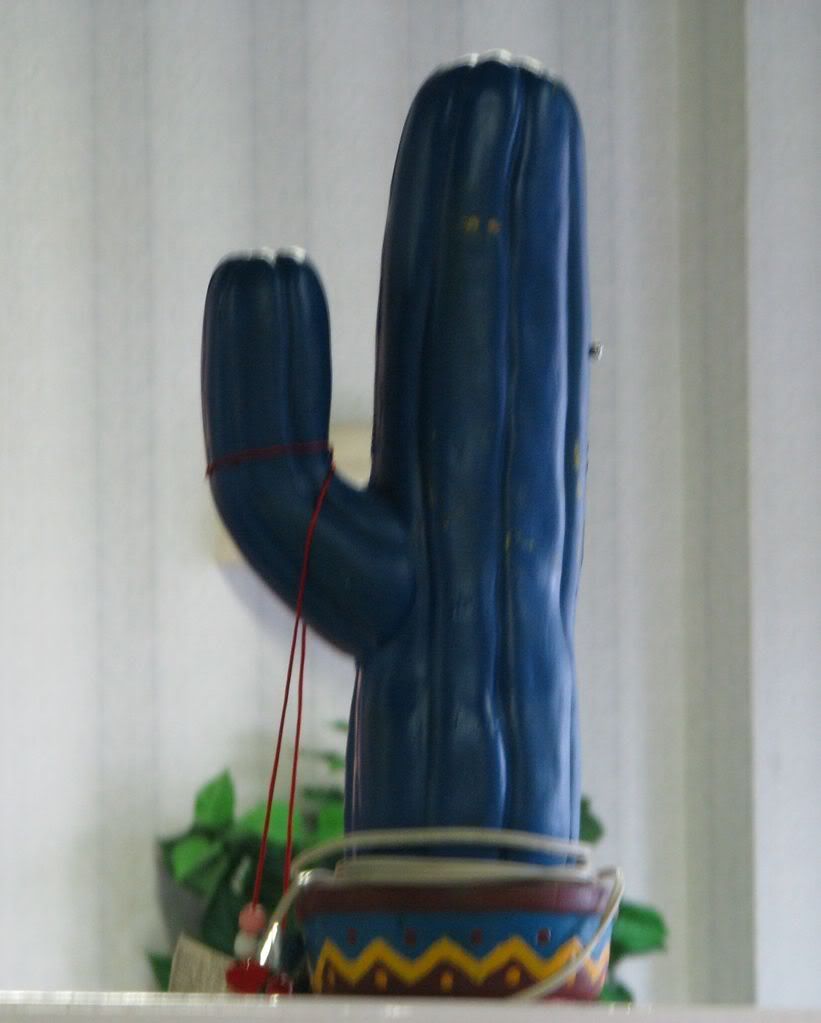
Blue Cactus Cafe


Ahh, another dining trip. Here is another spot we've been hearing rave reviews from a friend of ours. He's been trying to get us to go for months. Sooo, today we finally made the trip.

We headed out to Blue Cactus Cafe, located at 2002 Greene Street in the Five Points, area. Five Points is a popular College hangout, because it is very close to USC. There are tons of bars and restaurants in the area.

We got there and the place was packed! The place isn't very large, so you probably want to get there at a decent time if you go. We were able to find a spot. On Saturdays they are open from 12PM-9PM. We were greeted and was told we could find our own seating. We got seats and waited for our friends to arrive. Our waitress greeted us and gave us menus and took our drink orders. We started looking over the menu and saw a lot of good things. Blue Cactus specializes in Korean and Southwestern cuisine. They also are firm believers in slow cooking. So all of the dishes are made to order. So don't go in there expecting to get your meal in minutes. Works for us! We were also glad to see they had Chicken fingers for the kids.


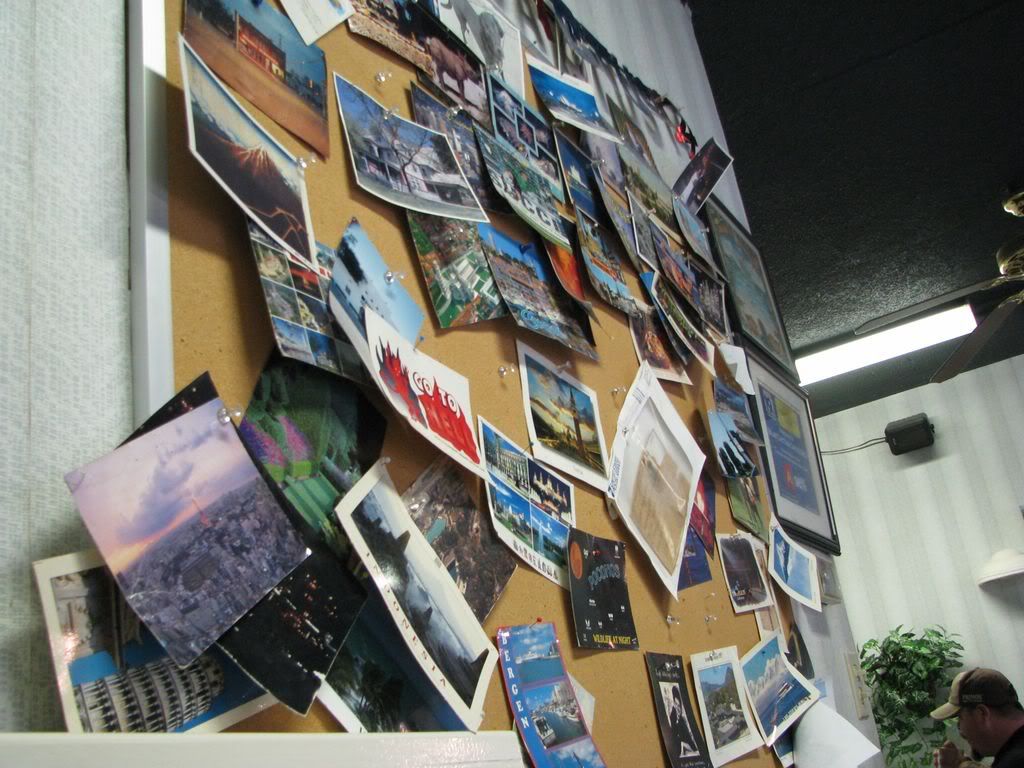
People send the Blue Cactus postcards from all over, and they have them posted up on the wall. Pretty cool.

Going to discuss the menu with JP while we waited for our friends. Hmmm...what to get?

Our friends arrived and we were all ready to order. JP and I are pretty familiar with Korean food. Being that JP is half Korean and myself being from Hawaii, we were pretty familiar with a lot of the dishes. We saw another review on another blog and saw a dish in particular that looked really good. We decided to try that, and our friends have been there many times so they knew what they wanted also. We got the kids chicken fingers.


Johnny looking at the menu.


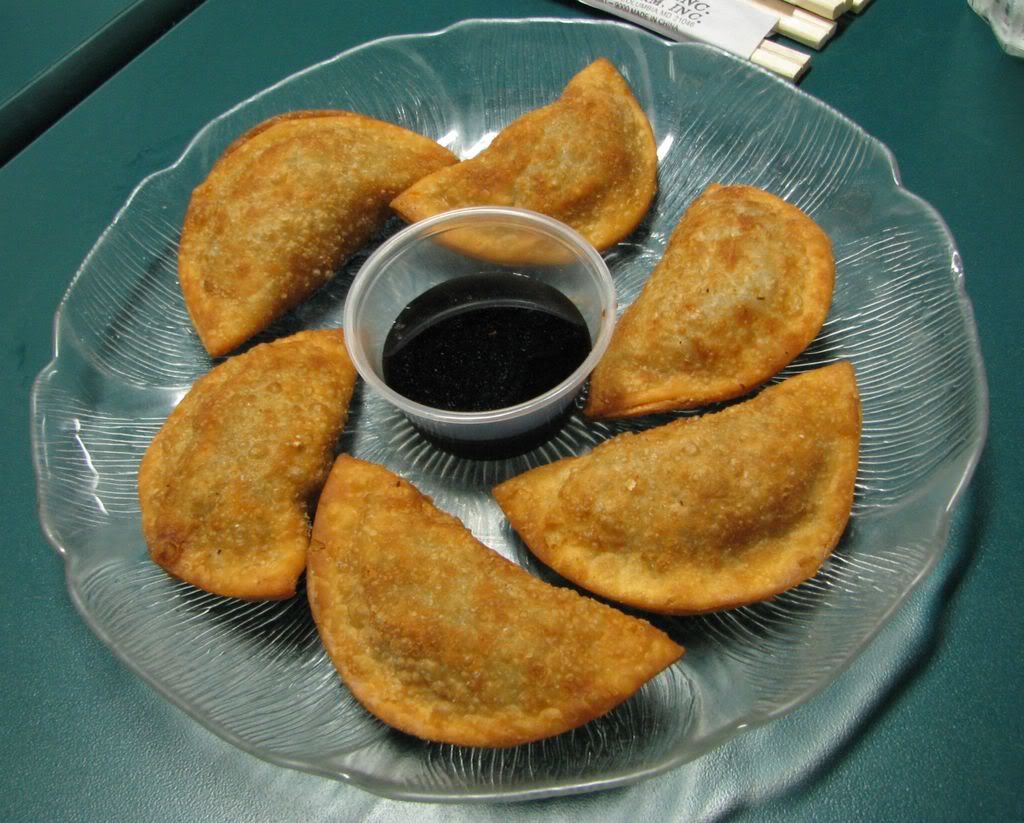
We started off with appetizers. Yum! We ordered Yaki Mandu. They were filled with beef, clear noodles, cabbage and green onion. Served with Soy Sauce. They were pretty good.


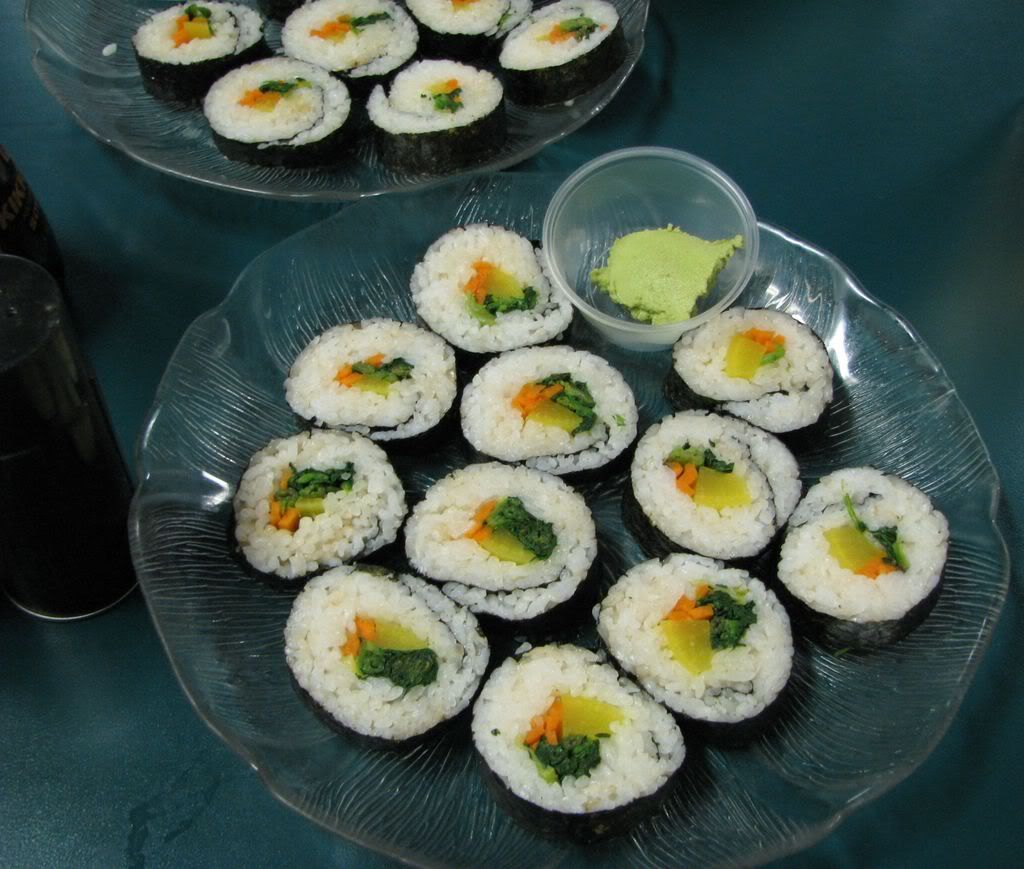
Brett and his wife ordered some Kim Bob. They look like sushi. They have Nori on the outside and filled with rice, pickled radish( I think Daikon), spinach, and carrot. It was served with Wasabi and Soy Sauce. These were really good. We all tried each other's appetizers.

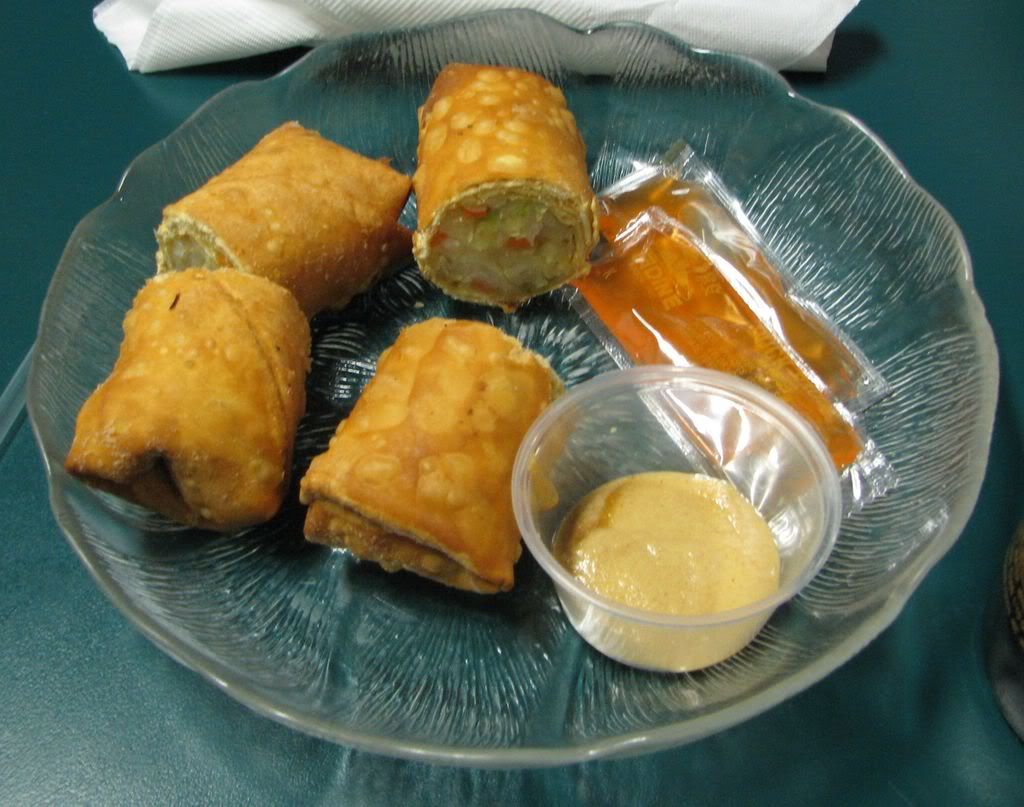
They also ordered Egg Rolls. They were filled with cabbage and carrot. This was served with VERY hot mustard and Duck sauce. Man, that Hot Mustard was crazy hot! LOL It opened up our sinuses! Overall they were very good too.

Okay, moving on to the entrees!


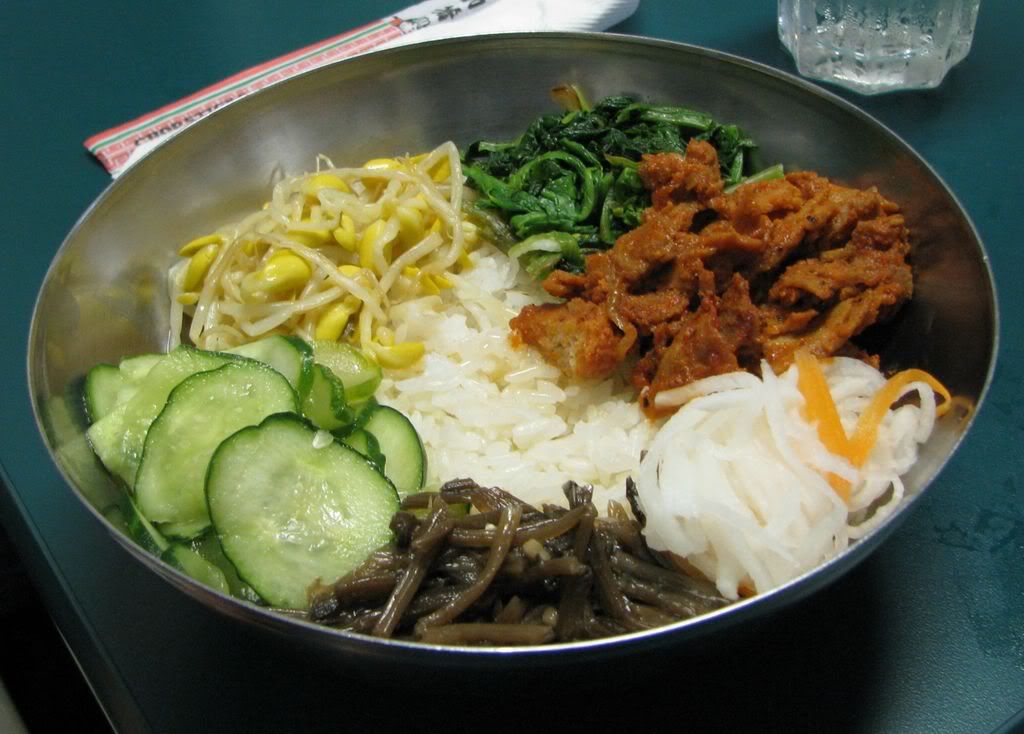
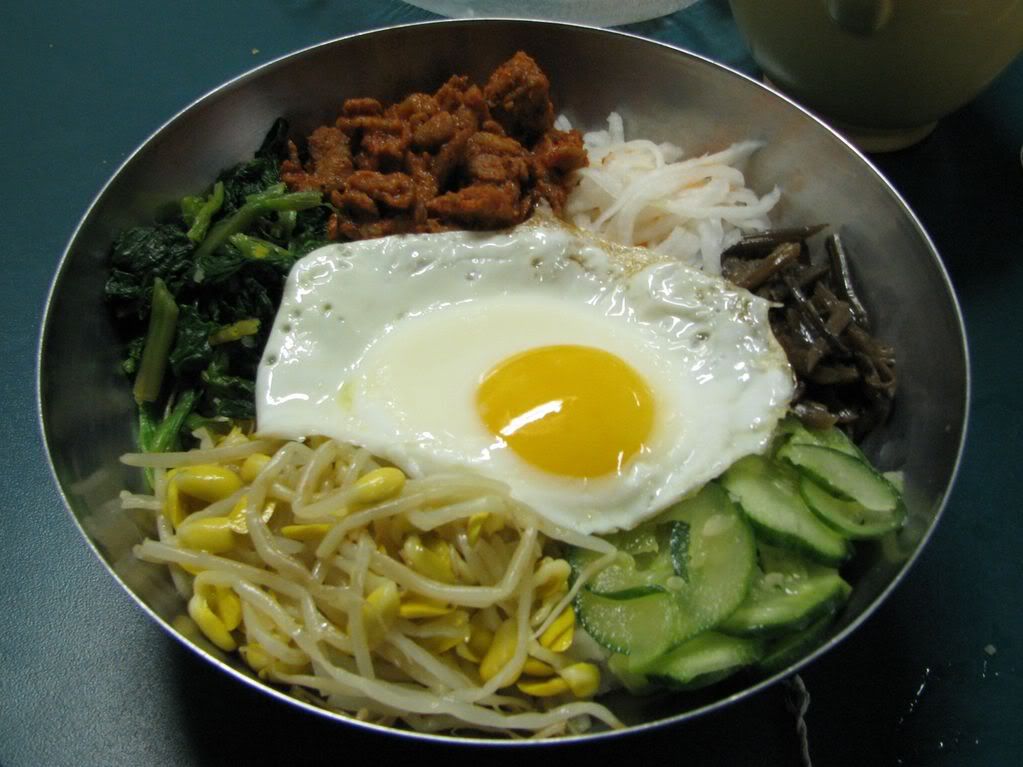
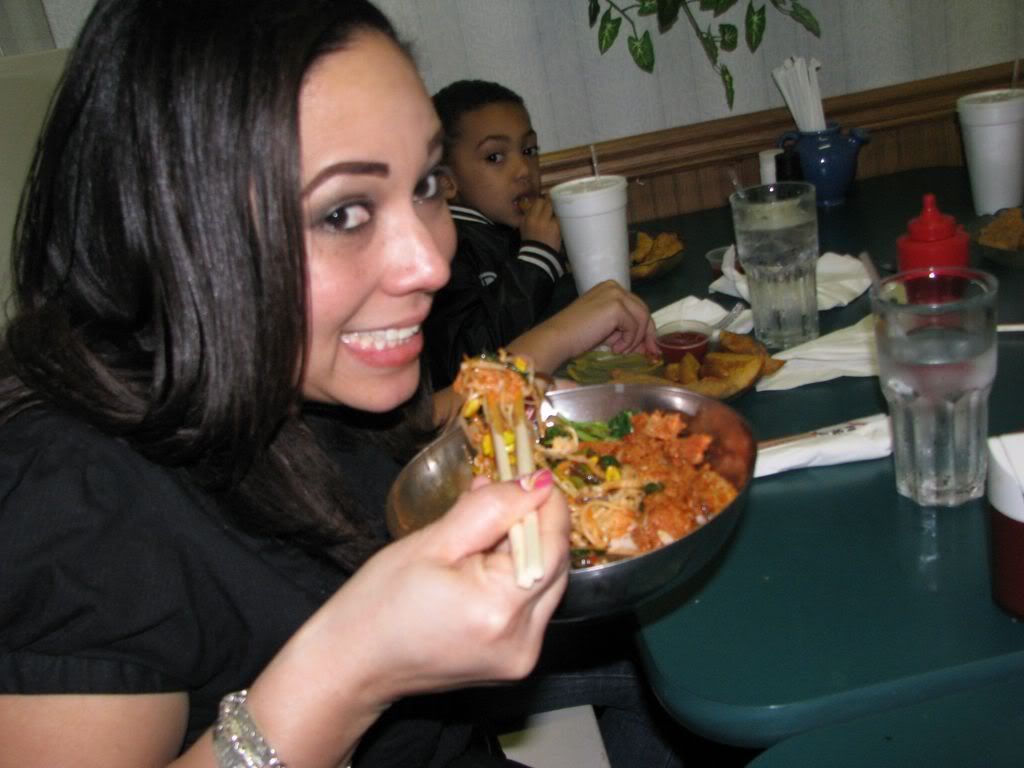
JP and I ordered the same thing. We got the Bee Bim Bob. This dish is served with 5 Korean vegetables, a choice of Tofu, Beef, Chicken, or Spicy Pork and Rice. Ko Ju Chung is also served with this. That is the oh so yummy chili paste. We both chose the Spicy Pork, and I got my dish minus the egg. Not a huge fan of Sunny Side Up Eggs. Not sure what all the vegetables were. I know there was cucumber and some kind of bean sprout. I think the greens were Watercress.


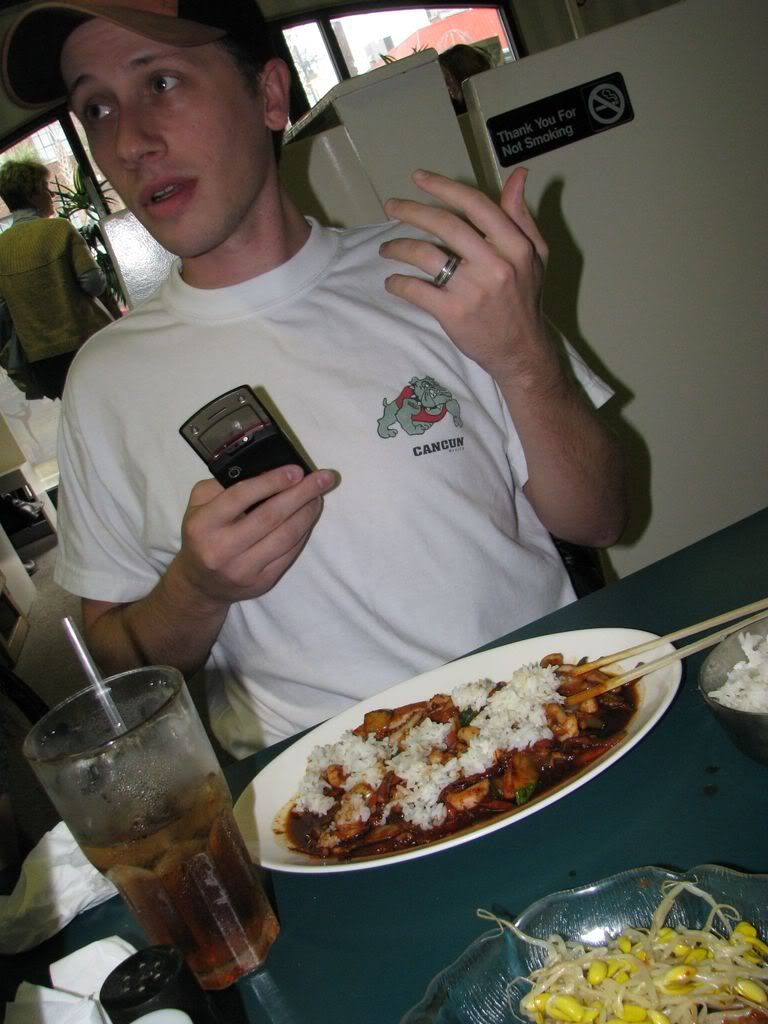
Here are JP and I enjoying our meals. You can see the kids in the background enjoying their Chicken Fingers. Which by the way, two of them cleaned their plates. JP and I enjoyed our meals a lot. It was very good! I loved all of the fresh vegetables. The pork was really good too. Accompanied with the chili paste, it was just a great combination of food.

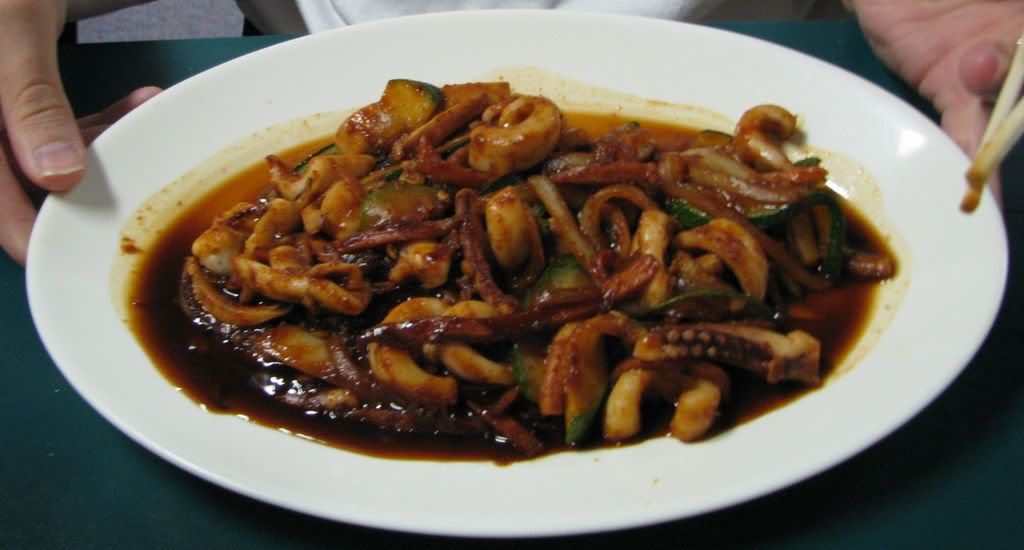
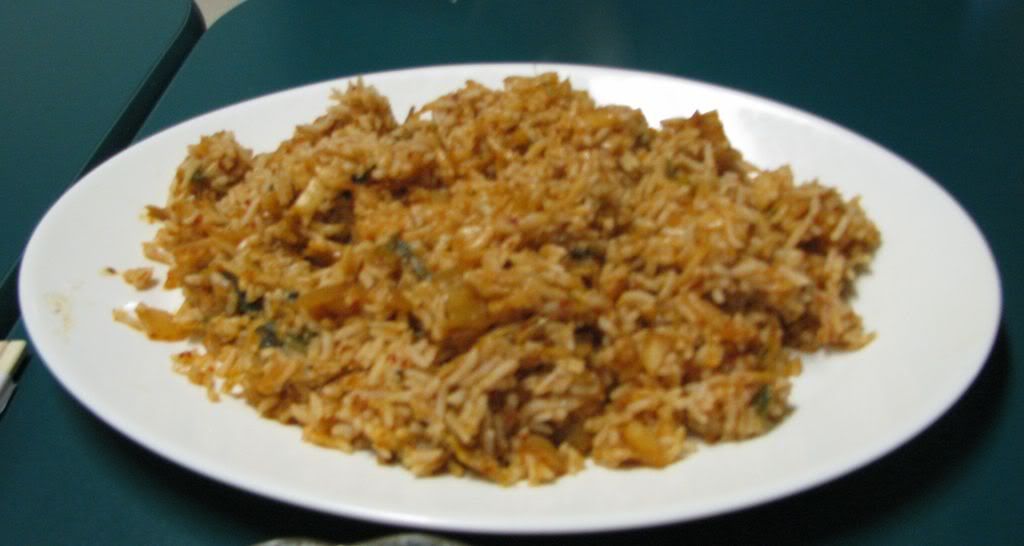
Brett and his wife ordered their faves. Kimchi Fried Rice and Stir Fried Squid. Both dishes looked really good. Brett gave us a taste of the squid and it was really good.

Brett enjoying his squid.

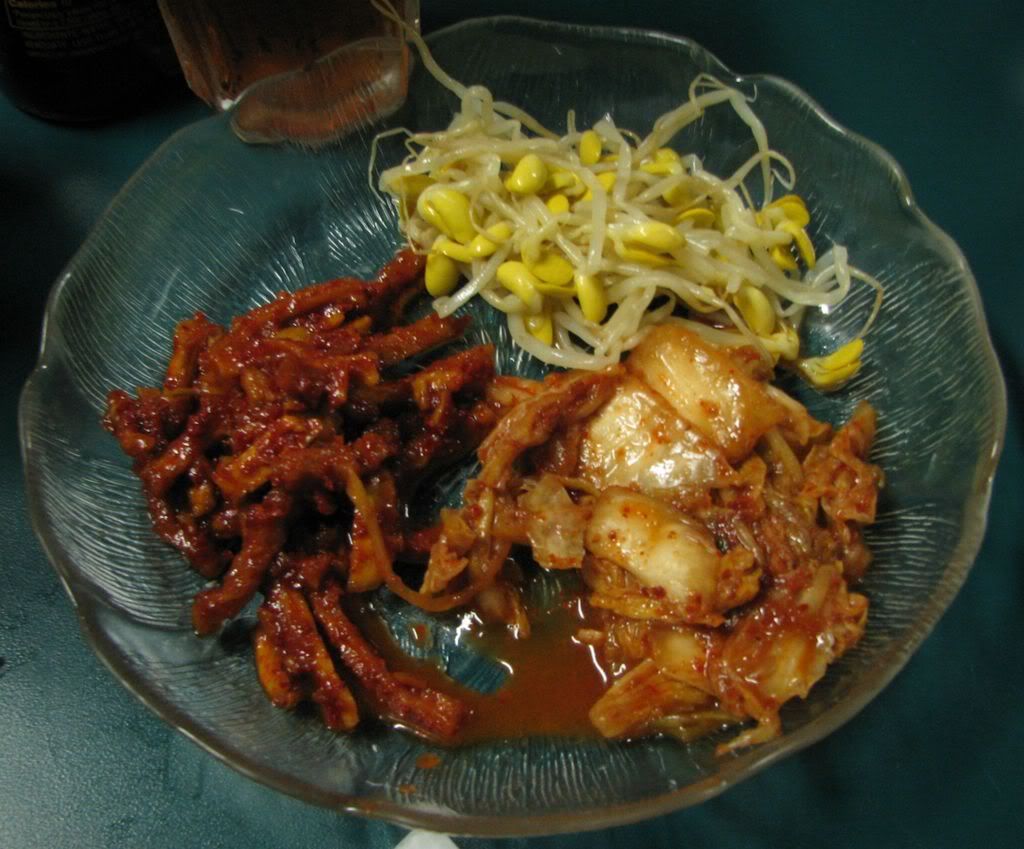
When our food arrived they also gave us two bowls of veggies to share. I know it was Kimchi and bean sprouts. Not sure what the other thing was, but it was really good. It went great with the other things we were eating. We love Kimchi. I could eat Kimchi all day.

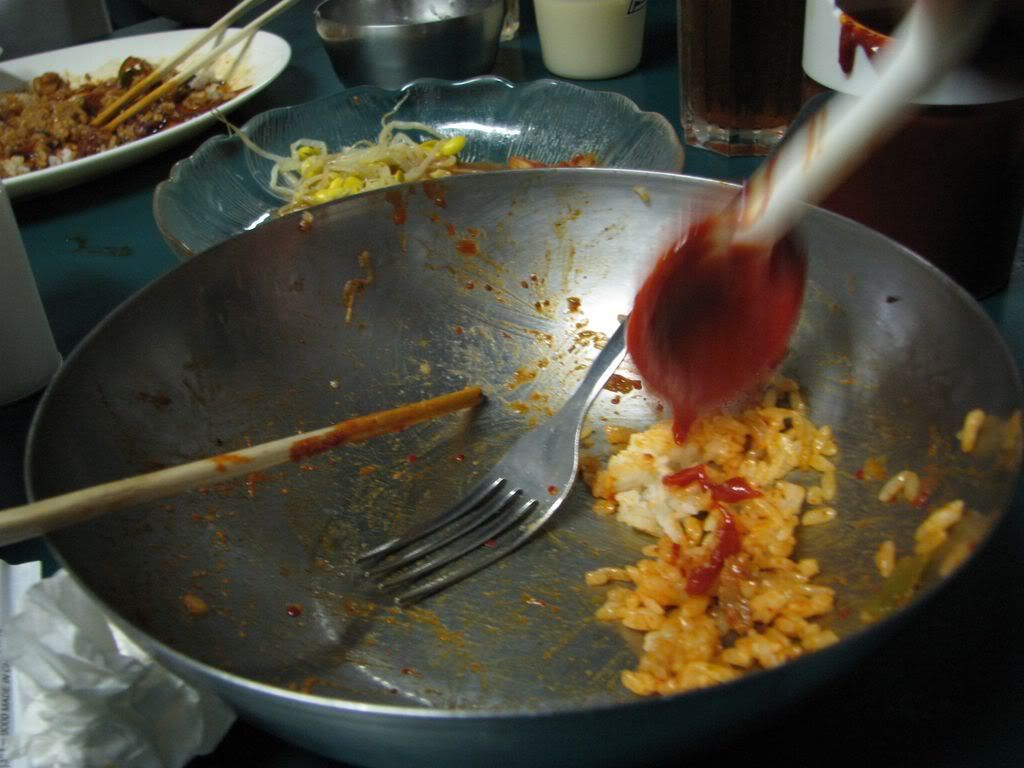
JP had to get that last bite. He dropped some Ko Ju Chung on it.

Overall the food here was really good. We cleaned our bowls. It was a great dining experience. JP's Mom cooks a lot of the same dishes for us. It's good to find a spot were we can get those same home cooked flavors. We will definitely be coming back again. The food here was Bangin!

Here is a link to their website if you want to check them out...

Blue Cactus Cafe

Banginfood
JP and Feather

Read more!
Wednesday, January 21, 2009

Happy Birthday Banginfood! 1 Year Old!

We are 1 year old! Wow! Time flies when your having fun. This started out as something fun for us to do. But, it has become a real labor of love. We are grateful for all who come and enjoy the site. Hopefully this year we will bring much more as we continue to grow. Thanks for the support! Check out the slide show of all the food we've posted up over the past year.

Banginfood
JP and Feather


Type rest of the post here
Read more!

Saturday, January 17, 2009

Recipe of The Day: Easy Corned Beef Hash


Yum yum! We loove Corned Beef Hash! If you want to bypass the pre made canned stuff, and make a sort of home made version here ya go!
I say sort of home made, because I used canned Corned Beef. Maybe one day I'll be brave enough to attempt to cook a piece of fresh Corned Beef. I always keep a can handy, because I do have a few recipes that I can make. I have already featured my Corned Beef Patties on this site. The pictures didn't do them justice so it looks kind of scary. lol Other recipes I may feature are, Corned Beef and Cabbage and a Corned Beef Frittata. So for today, here is my simple Corned Beef Hash...

Prep Time: 15-20 Min. (Depending on how many potatoes you have to chop and peel)
Cook Time:20-25 Min.
Serving Size: 4-6 People

Ingredients:

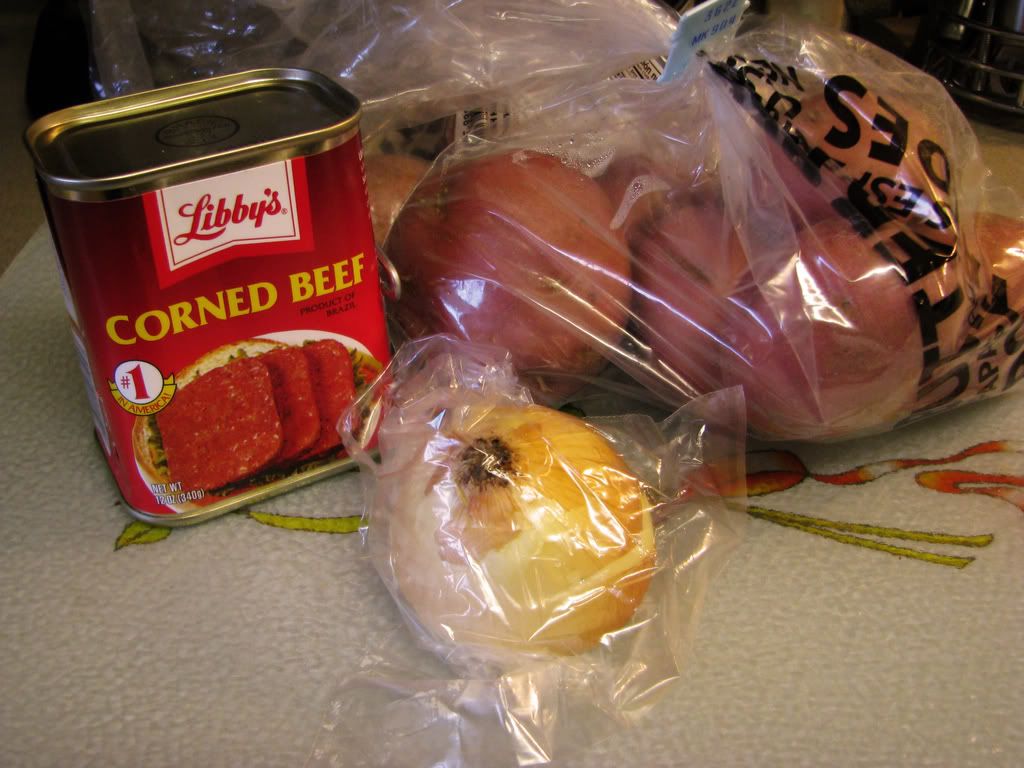
1 Can of Libby's Corned Beef (whatever brand you like)
1 small onion
8 small New Red Potatoes
Butter
Salt and Pepper to taste

Did you know Libby's is #1 in America???


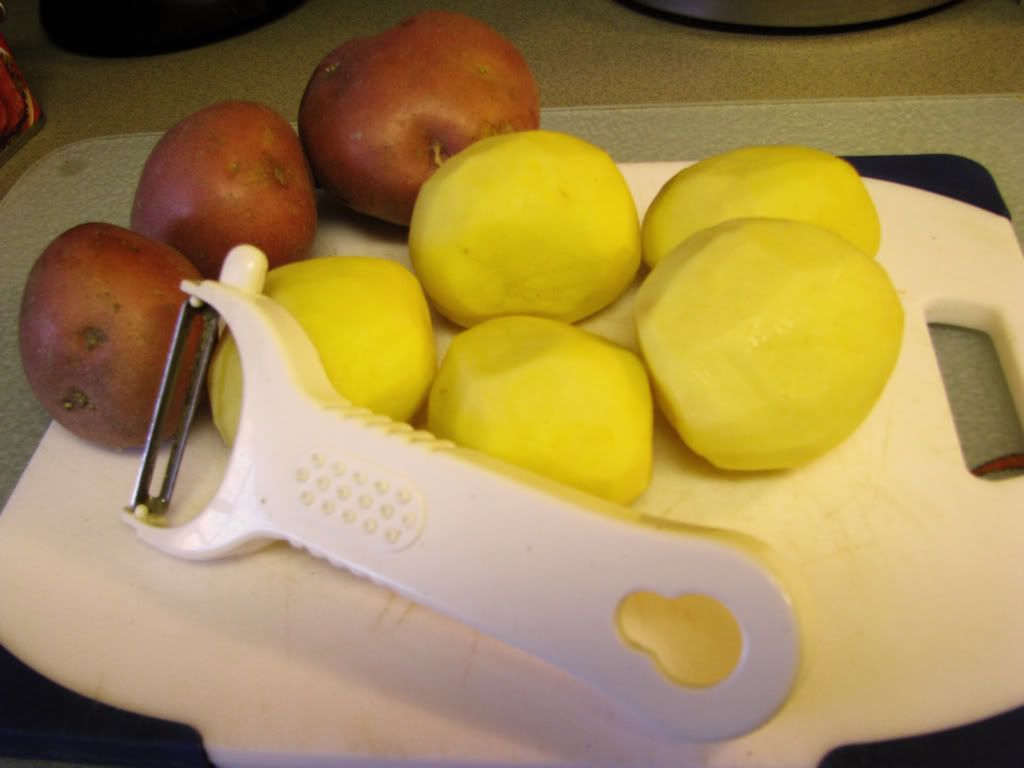
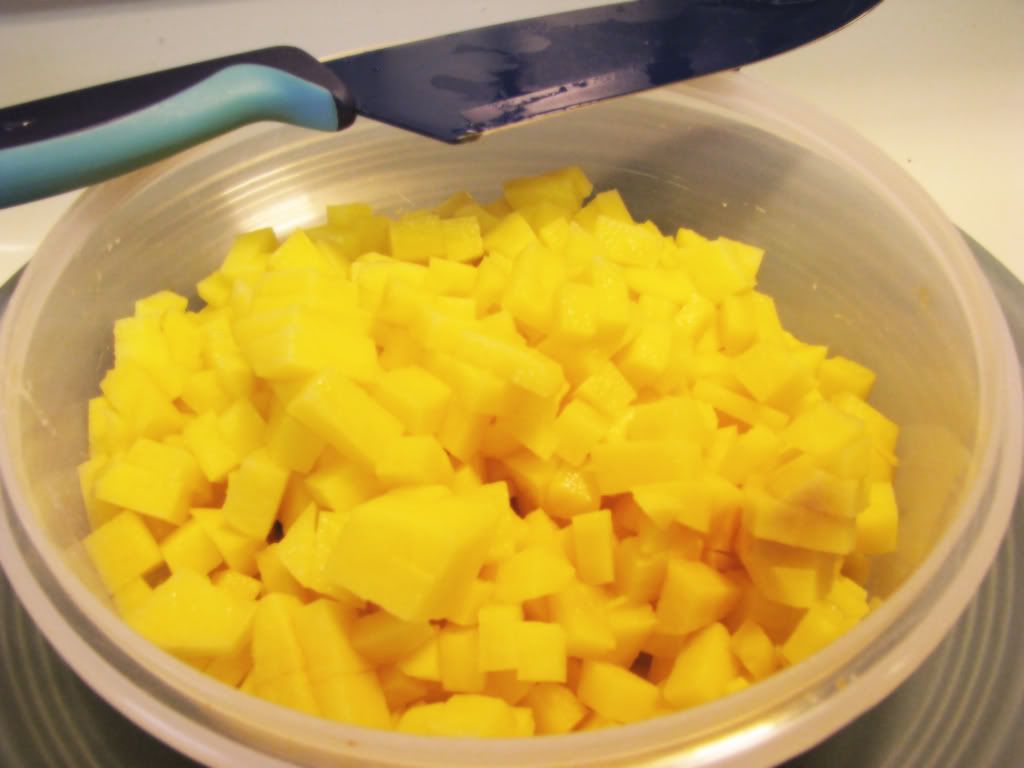
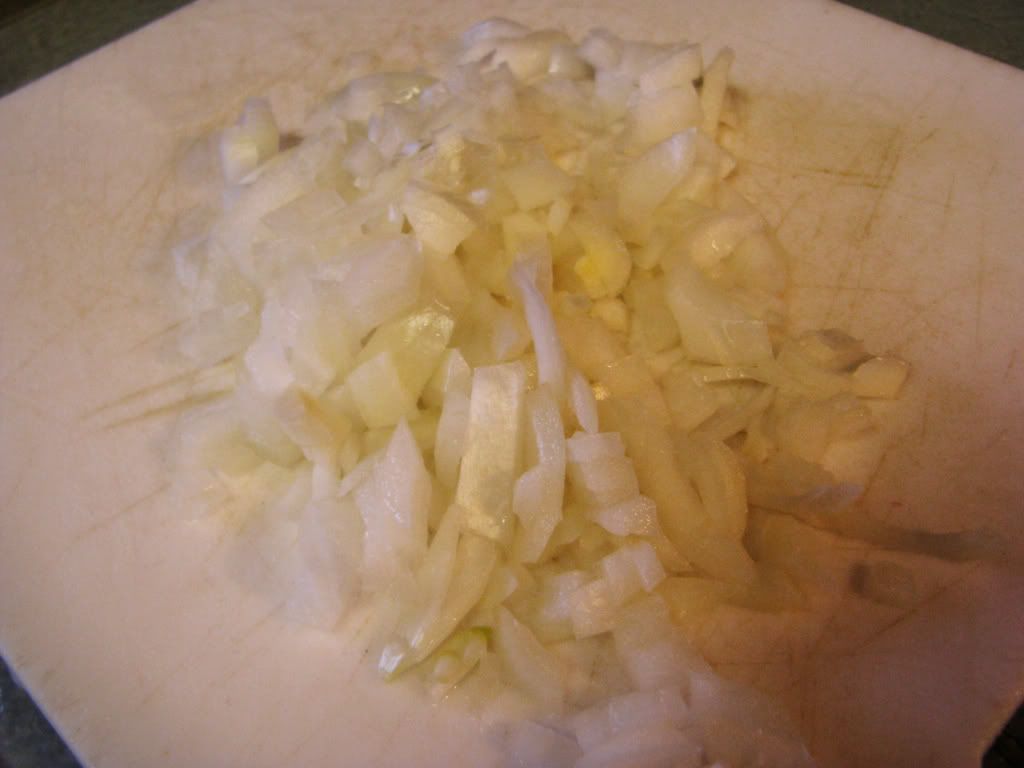
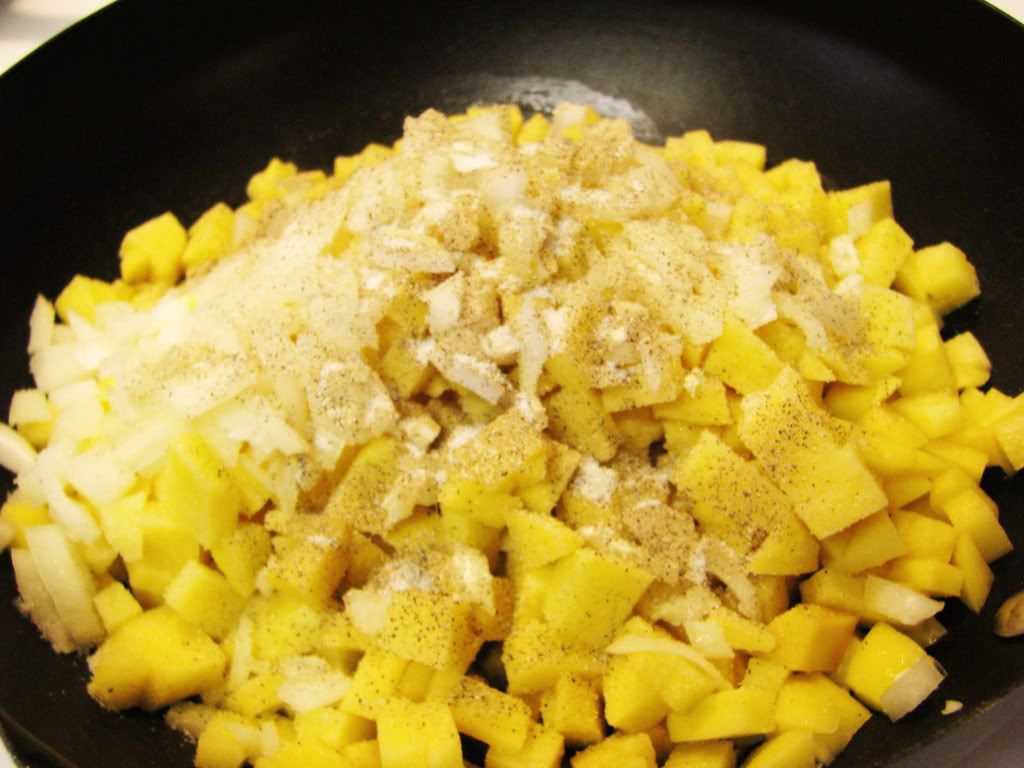
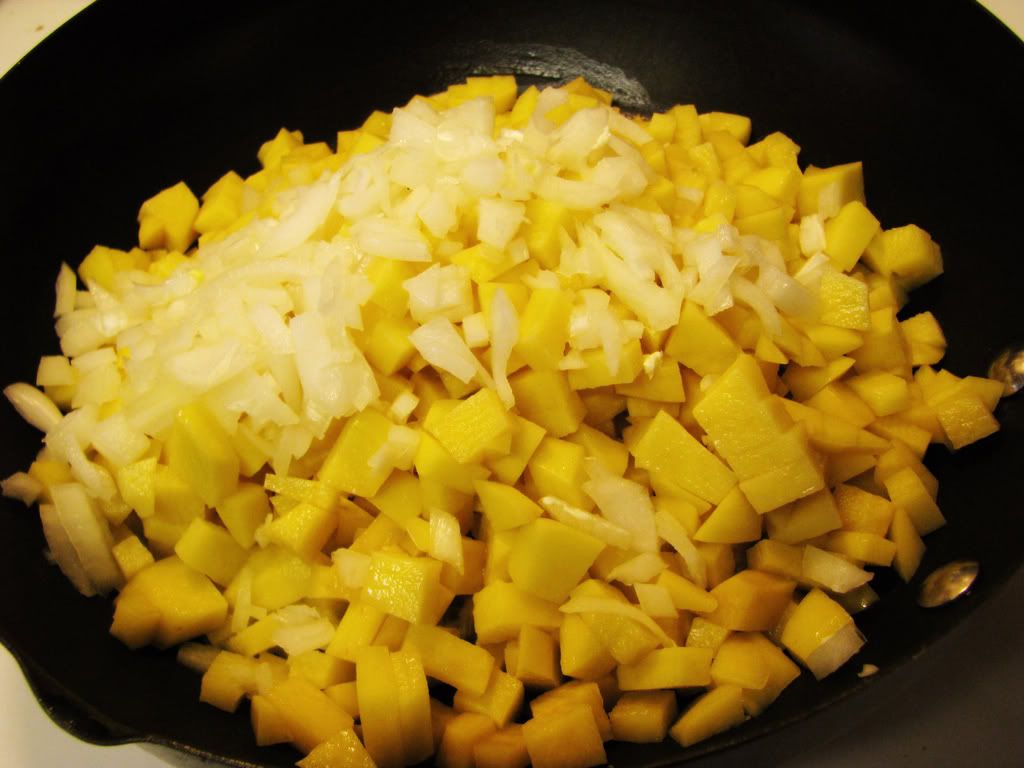
Peel and chop your potato and onion.


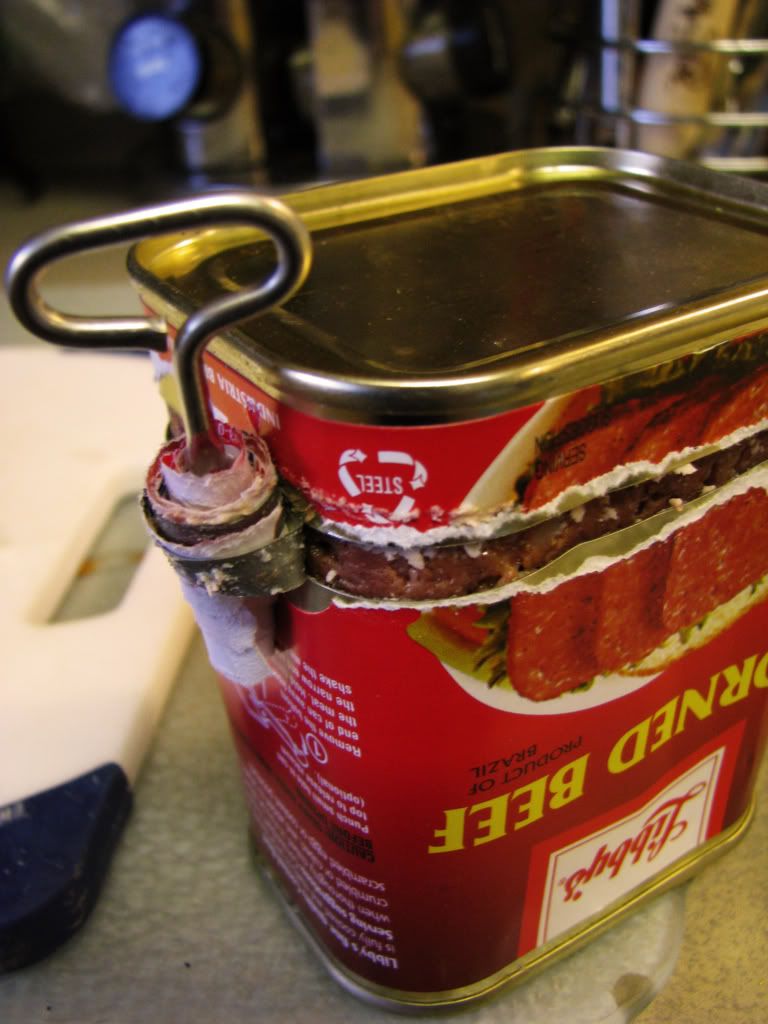
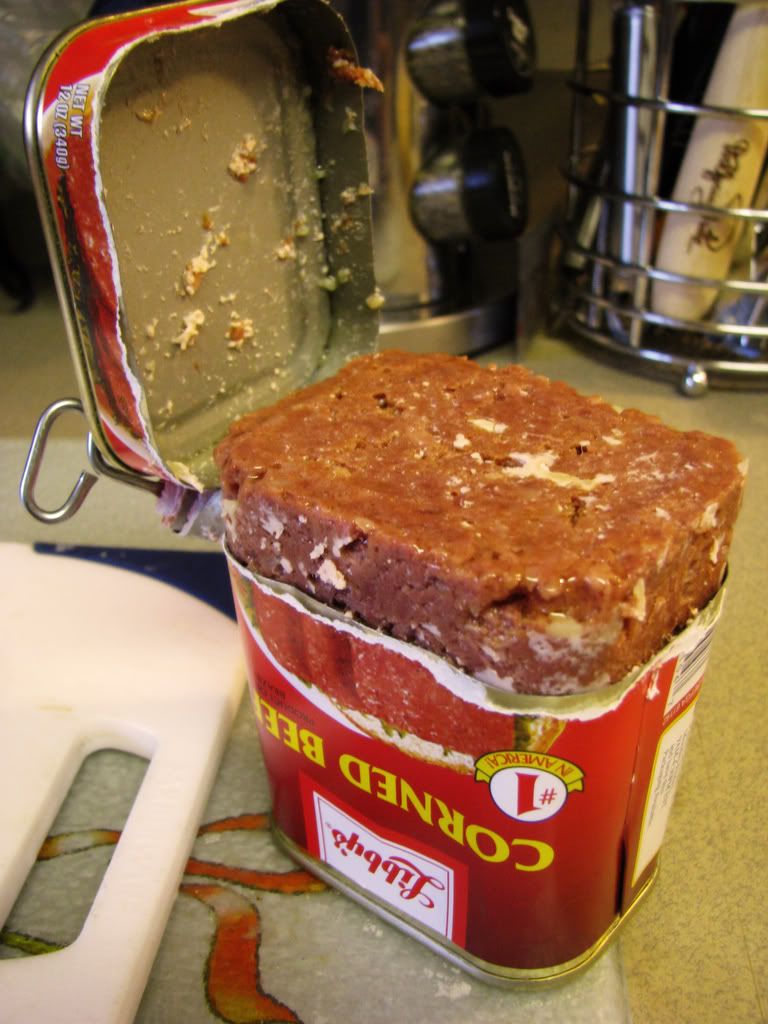
I hate the way the Corned Beef cans open. That little key thing they put on there is a pain in the butt! There have been many a time where I broke that stupid thing off, and had to try and open the can with a can opener. Geez! Anyhoo, Corned Beef isn't very attractive in the can either. *shrugs* Get your can open somehow!


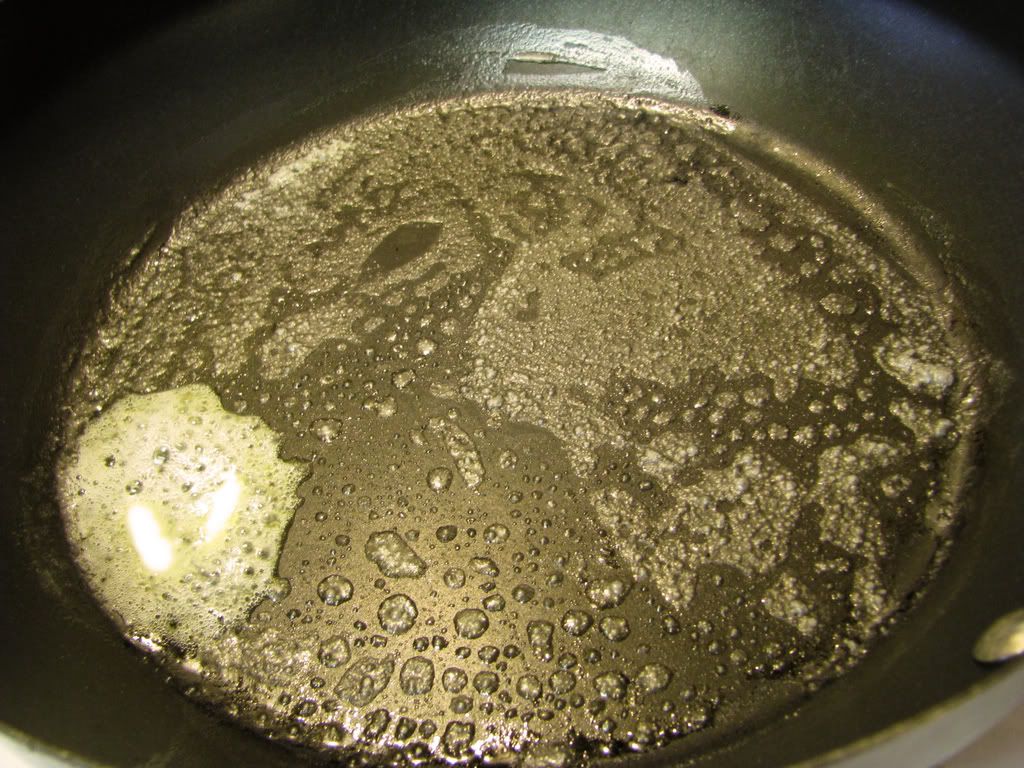
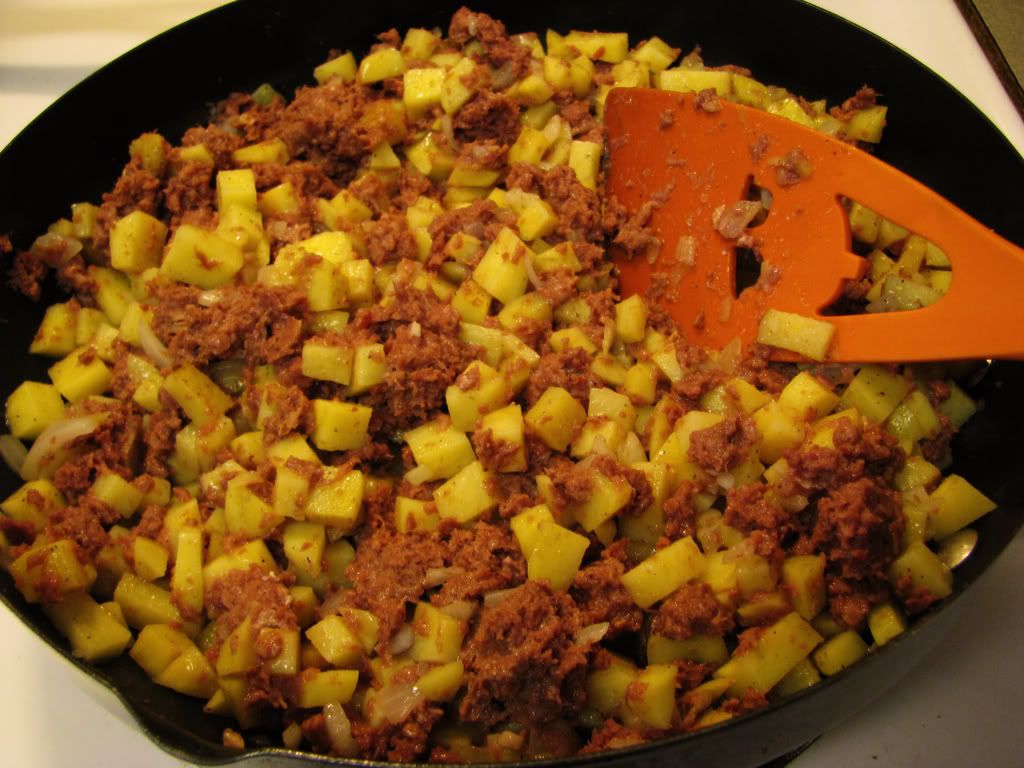
In a large skillet on medium heat, melt about a tablespoon of butter. Coat the bottom of the pan. Toss in all your ingredients. I did not measure the salt and pepper. But, I'm guessing it's about a teaspoon or so. Just dash some in there, and if it needs more add some more. Your better off starting with less, because the Corned Beef is already salty. So you should start off small. I'm just used to knowing what exactly to throw in there.


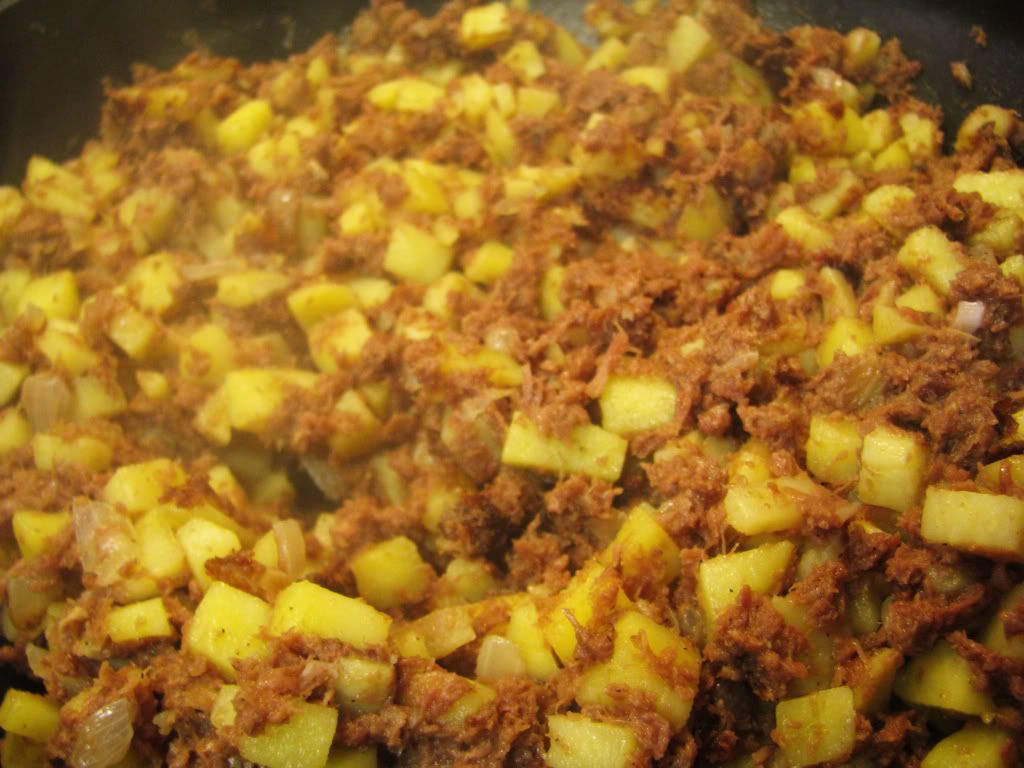
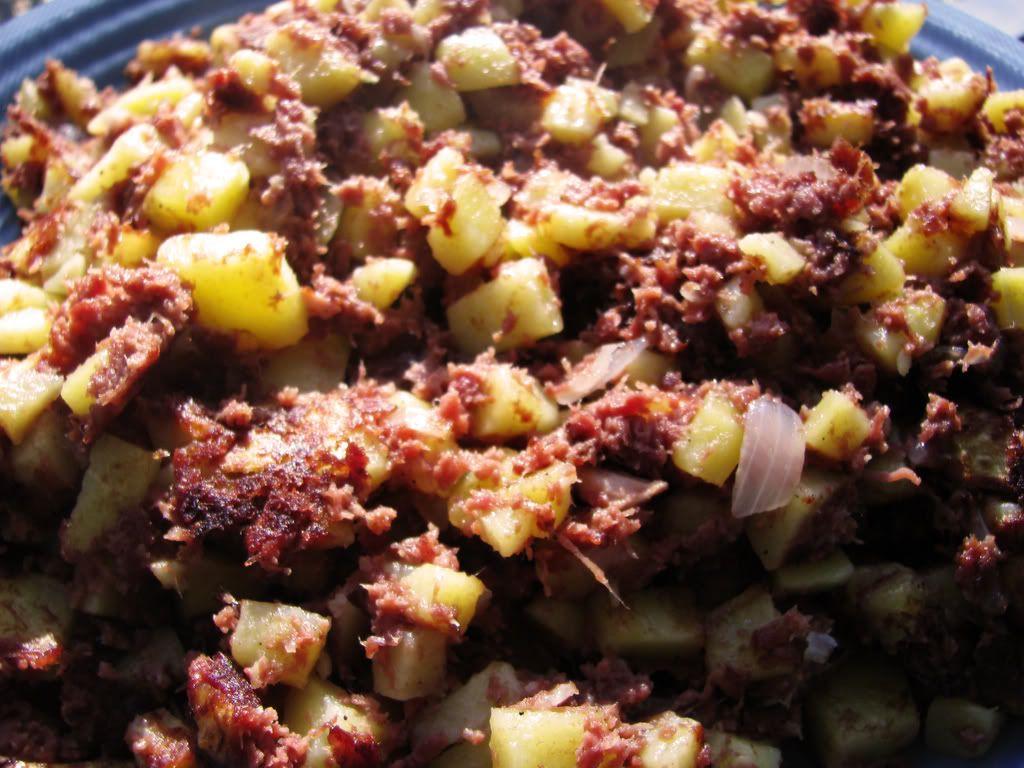
Continue to cook on medium heat for about 20-25 minutes. I cook this uncovered and stirred it around occasionally. It is done once the potatoes are tender and can be broken with a fork. I like to let it get a nice crispiness to it.

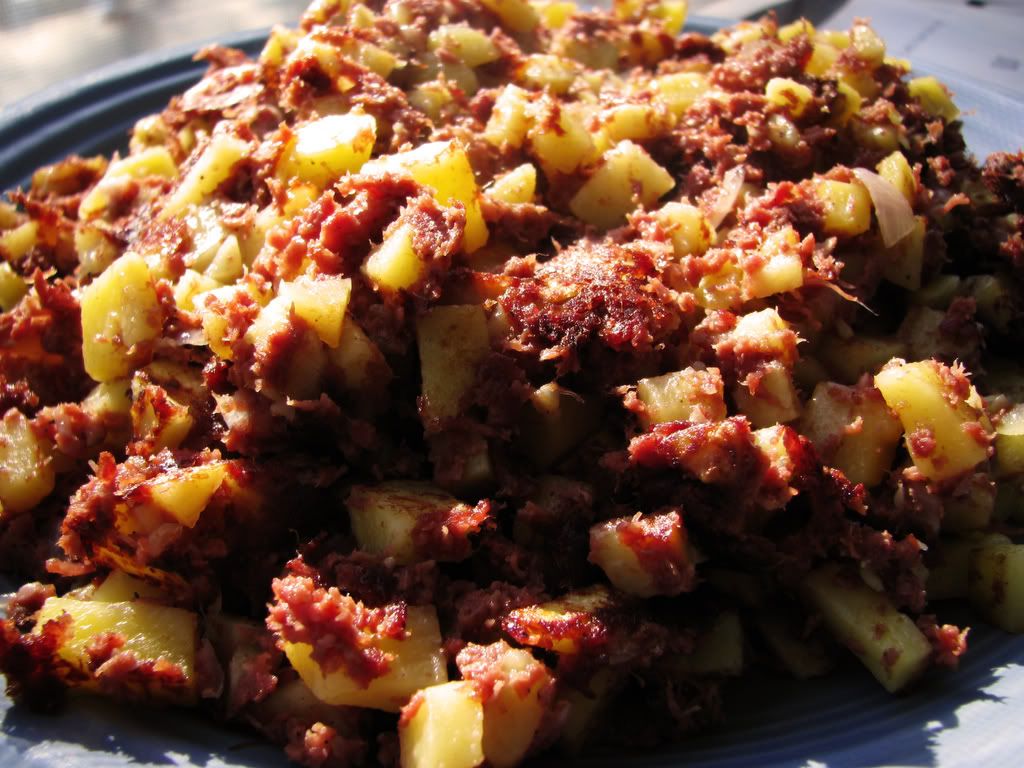
And that's it! Yummy Corned Beef Hash. Serve it up with eggs or just eat it by itself. I made JP a fried egg sammich to eat with his. Be sure to check back for my other recipes using Corned Beef.

Enjoy!

~Feather


Read more!