Blog. Food Reviews. Recipes
Showing posts with label easy. Show all posts

Thursday, December 3, 2009

Recipe of The Day: Grilled Flat Iron Steak


I am a person who enjoys a good steak, and sometimes I can't afford to get a good steak. This is a relatively cheap and easy way to get your steak fix.

I have only recently become familiar with Flat Iron Steak. We all know that steak can be very expensive and usually not something you eat often. I recently found some on sale at my local grocery store. I was willing to try something new so I grabbed some. I called my Mother for some suggestions on how to prepare this cut of meat. She suggested a marinade. But I wanted to try something instead of a marinade. So, I just went for more of a rub kind of thing. The results were very tasty! So now every time I see this cut of meat on sale I scoop it up. My kids love this steak and we never have leftovers every time I make it. So here we go...


Prep-Time: 5 minutes to season a few hours to chill in the fridge
Cook Time: 30-40 minutes (or longer depending how well you like your steak)
Serving Size: 4-6 people

Ingredients:
1 flat iron steak
garlic salt
ground black pepper
McCormick Mesquite Grill Mates


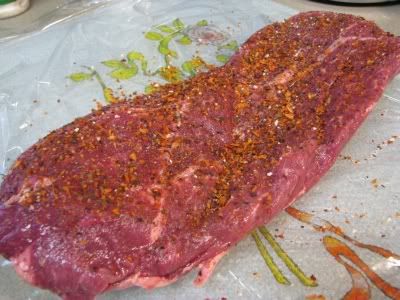
The first thing you want to do is generously season your steak like so. Cover that bad boy on both sides!


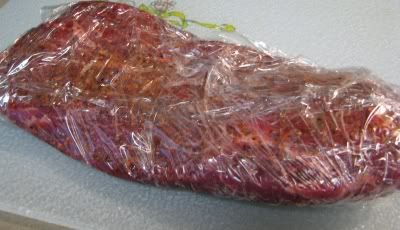
Then you want to either place the steak in a zip lock bag or do like I did and wrap well in saran wrap. I ran out of bags. Place the meat in the fridge and let it chill for a few hours. 1 hour minimum. You want to let those seasonings really sink in.


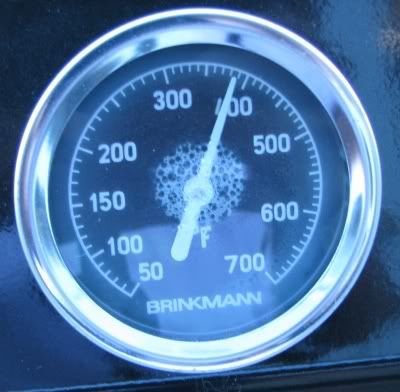
Okay, once your meat is done chilling. You want to prepare your grill for cooking. I let my meat chill for about 5 hours. I am using a gas grill, because that's what I own. I know some people don't like them, but that's what I'm working with. I preheat and clean my grill before cooking. I let the grill get up to about 400 degrees. I keep the burners set to high during the preheating.


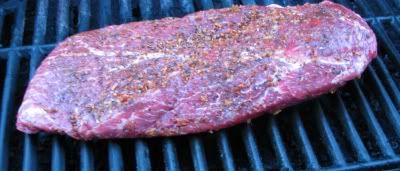
When the grill is ready, I turn the burners down to low. Then you can throw your meat on. I let it cook for about 5-10 minutes, and then I turn. Then I wait another 10 minutes and turn again. I do this about 3 or 4 times, pretty much do this until the steak looks done. If you like your steak more well done then leave it on longer. I like my meat almost pink and juicy. Also, if you take it off and it is not done enough you can throw it under the broiler to get it how you want it.


Once you are done grilling. Remove steak from heat and plate. Do NOT, I repeat...DO NOT cut! You need to let the steak rest for about 10 minutes. Once you have given steak the proper time to rest, you can proceed with the cutting.
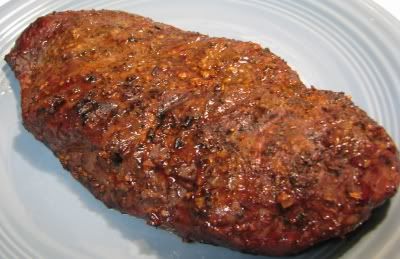


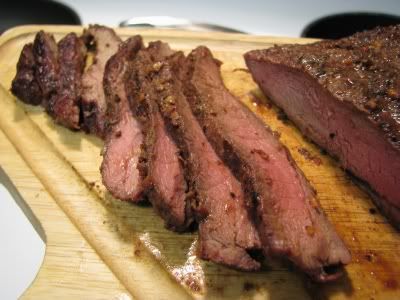
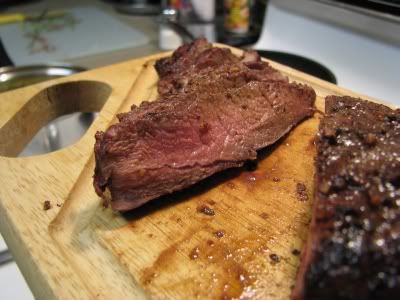
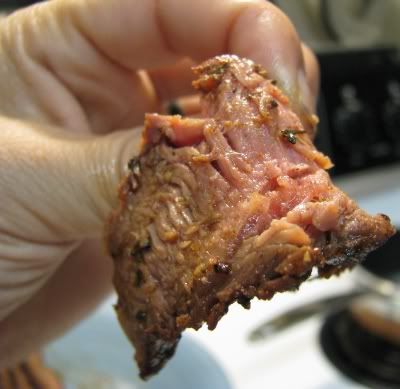
You should now have a well rested flavorful juicy piece of meat. You can now begin cutting. You want to cut this steak very thin and at a diagonal. A sharp knife will be very useful.


Once you have finished cutting the whole steak you can plate and serve. You will love the tenderness of this cut of meat. Who says you can't have good cheap steak? I am thinking about using this for burritos one day. Fajitas would be good too! Enjoy!


~Feather
Read more!

Wednesday, October 21, 2009

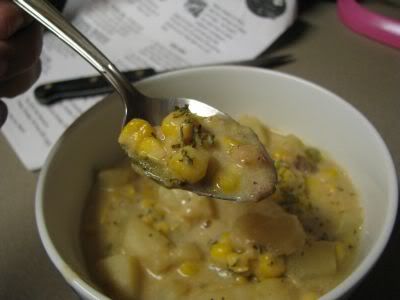
Recipe of The Day: Creamless Potato Corn Chowdah


The weather outside is frightful! Well...to me at least it is. The cold is starting to drift in. Days like these make me feel so blah. But, a good pot of hot warm chowder makes me feel great!

Unless this were a cheat day I would have pulled out all the stops and used heavy cream and bacon in this recipe. Since, I can no longer indulge in such flavorful fattening goodies I have to improvise. I had to think of a way that I could make a good tasting chowder that used no cream whatsoever. I tried to scour the net for some recipes. But, due to some malfunctions...thanks to Firefox that quickly ended. I figured a bunch of taters and some milk would give me the creamy results I was looking for. So here is what I came up with. Feel free to alter these measurements and tastes to your liking. JP and I like things spicy. Spicy to the degree that we would burn our throats in agony for some goodness! So here we go...

Prep Time: 10-15 minutes
Cook Time: 25-30 minutes
Servings Size: 4-6 People


Ingredients:

4-5 large potatoes (any variety you like)
2 cups of 2% Milk
1 1/2 cups of frozen or fresh corn
1/4 cup chopped green bell pepper
1/2 large white onion
2 stalks of green onion
salt, pepper, garlic salt, and cayenne pepper to taste

Chop all of your vegetables. Spray pot with Olive Oil spray or use a tiny bit of regular Olive Oil. Saute bell pepper and onions in pot on medium high heat. Saute until soft. You can remove from heat and set aside. Chop and peel your potatoes. Put pot back on stove and add in potatoes corn and milk. Bring to a boil and then bring down to medium low heat. Watch your pot and be sure not to scald the milk. You can add in your seasonings. Cook until potatoes are tender. Add more season if you need to.

This is a really quick dish. It's a great alternative to a chowder that uses heavy cream. JP threw some shredded cheese in his and said it was good like that too. I also sprinkled some parsley on top of mine. It added a nice touch! :) Very nice for those cold nights. I just finished a bowl and can say I am fully satisfied!

Enjoy!

~Feather


Read more!

Tuesday, October 20, 2009

Recipe of The Day: Whole Wheat Pizzas!


I have been slacking on the site! I really have no excuses either. :( I've been cooking some good things, and I need to get them on here ASAP.

Last week I wanted the kids to do something fun. So I decided we should make pizzas! Not to mention they would probably eat pizza everyday of the week if we let them.

A few months ago I started buying whole wheat graham flour. I use it to make all kinds of things. On the back of the box there is a recipe for whole wheat pizza crust. The recipe is extremely simple and doesn't take all the work of a normal pizza crust. If you are expecting some pizza hut type results, well then you need to find a recipe like that. This recipe is very simple and boasts a dense thick crust. You can jazz it up to your liking. You can also determine how thick or thin you want it. I personally like thick crust, so it's really up to you. The kids really enjoyed making their pizzas. They are always asking me to help out in the kitchen. So I know they enjoyed themselves.

Here is the recipe:

Hodgson Mill Whole Wheat Graham Flour Wheat Pizza

1 package of Active Dry Yeast
1 cup warm water 115° F
1 1/2 cups Whole Wheat Graham Flour
2 tsp. granulated sugar (or sub with sugar substitute)
1/2 tsp. salt
2 Tbsp. Olive Oil
1 1/2 cups of White Flour (I use regular all purpose)

Preheat oven to 425°F.
Dissolve yeast in warm water. Allow to rest 5 minutes. Stir in whole wheat flour, sugar, salt, olive oil, and 1 cup unbleached white flour. Knead in remaining white flour by hand; about 5 minutes (the dough will be smooth and elastic).

Spray a medium-sized bowl with no-stick cooking spray(you can use some olive oil I used an Olive Oil spray). Place pizza dough in bowl and turn to coat thoroughly. Cover and allow to rise in a warm, draft-free place for 15 minutes. Spray a one 14-inch pizza pan or two 10 inch pizza pans with no-stick cooking spray (or grease lightly with oil). Stretch pizza crust to fit pan and flute outer edges of pizza dough to hold fillings.

I would suggest not to make the edges to thick. Unless you like it like that. I added some pizza sauce and seasonings to the crust before we added the toppings. We topped our pizzas with ground Italian sausage, smoked sausage, boneless chicken breast, feta cheese, onions, green bell peppers, mixed shredded cheese. You can be creative and add anything you want. Whatever you like throw it on there! Have fun with it! Enjoy!

Here are the kids creations. They loaded their pizzas with tons of meat!


Here is my pizza. See how I made the crust a little thick? It was still good!

~Feather

Read more!

Friday, October 17, 2008

Recipe of The Day: Cornish Game Hens

Today's recipe is very simple! I got this recipe from my Mother. I believe she said this is something that my father used to make. I haven't made this recipe in years! There are only 4 ingredients and it will only take an hour and a half of your time.

Cornish Game Hens

Prep Time: 10 min
Cook Time: 1 1/2 hours
Serving Size: 2-4 People

Ingredients:
Two Cornish Games Hens (I got the ones with the giblets and necks already removed)
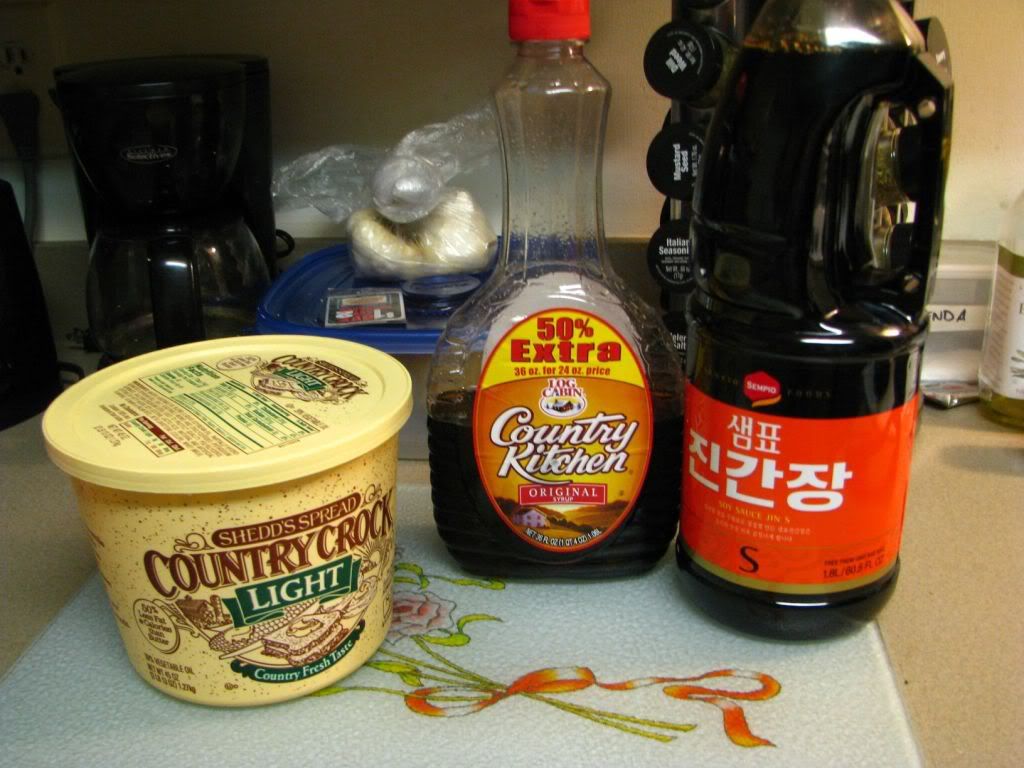
3 heaping tablespoons of butter or margarine(whichever you prefer)
1/2 cup Soy Sauce (I use a Korean brand that has a stronger flavor)
1 cup Maple Syrup (any brand)

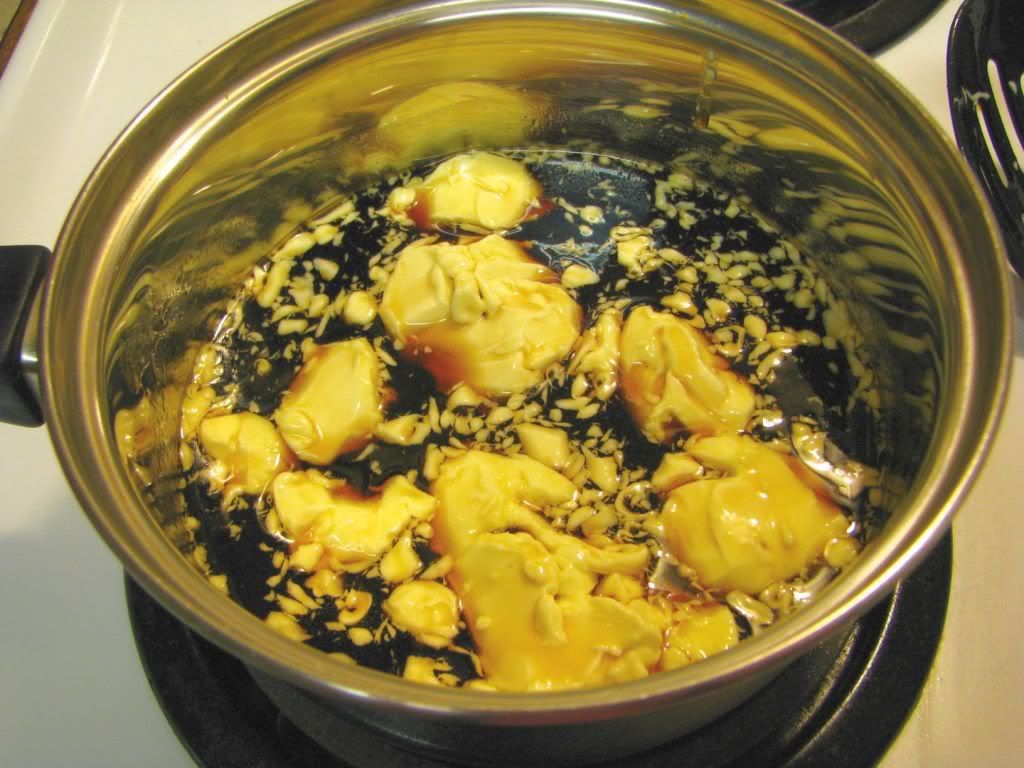
Before you begin, make sure you follow the directions for thoroughly defrosting your Hens. Begin by preheating oven at 350 degrees. Then combine butter, syrup, and soy sauce in a small pan. The recipe originally calls for equal amounts of the butter, soy sauce and syrup. Because, I am using Korean soy sauce I only used 1/2 cup. The Korean soy sauce has a stronger flavor then most regular soy sauces you would find. You can adjust the flavors. Make sure that the flavor is balanced. You should not have anything that stands out more than the other. Heat stove on medium low heat. Keep stirring mixture until butter is melted and everything is well incorporated.


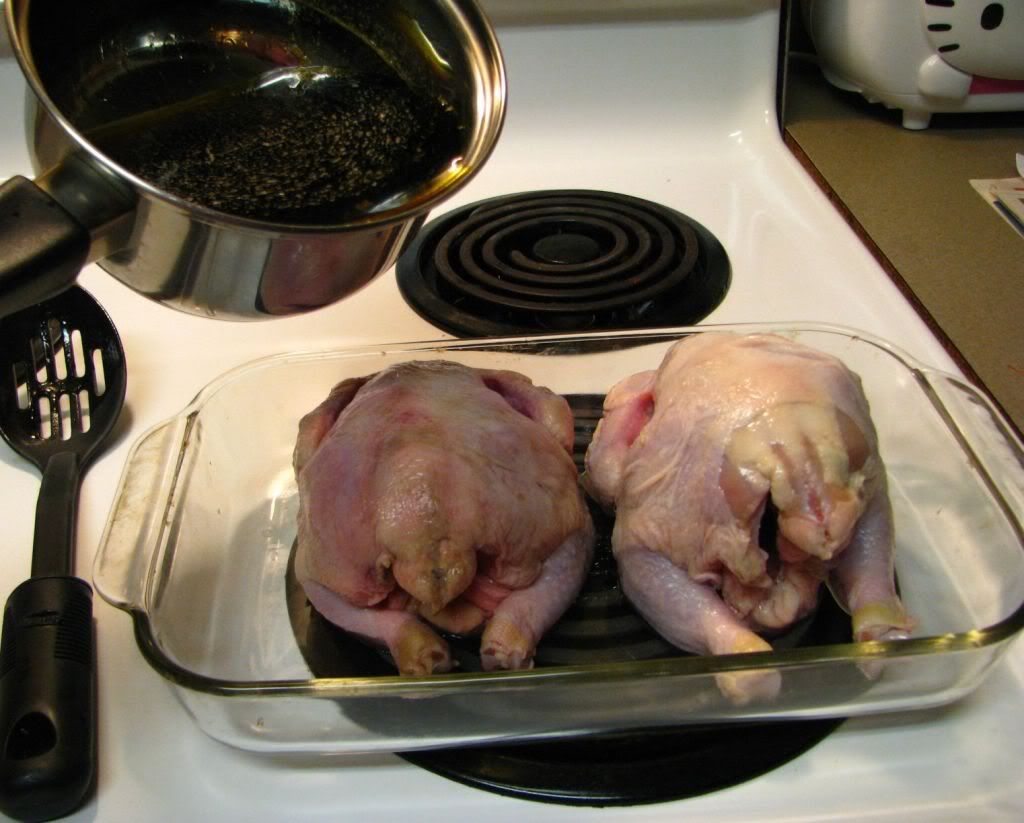
Next, place Hens in a shallow baking dish.

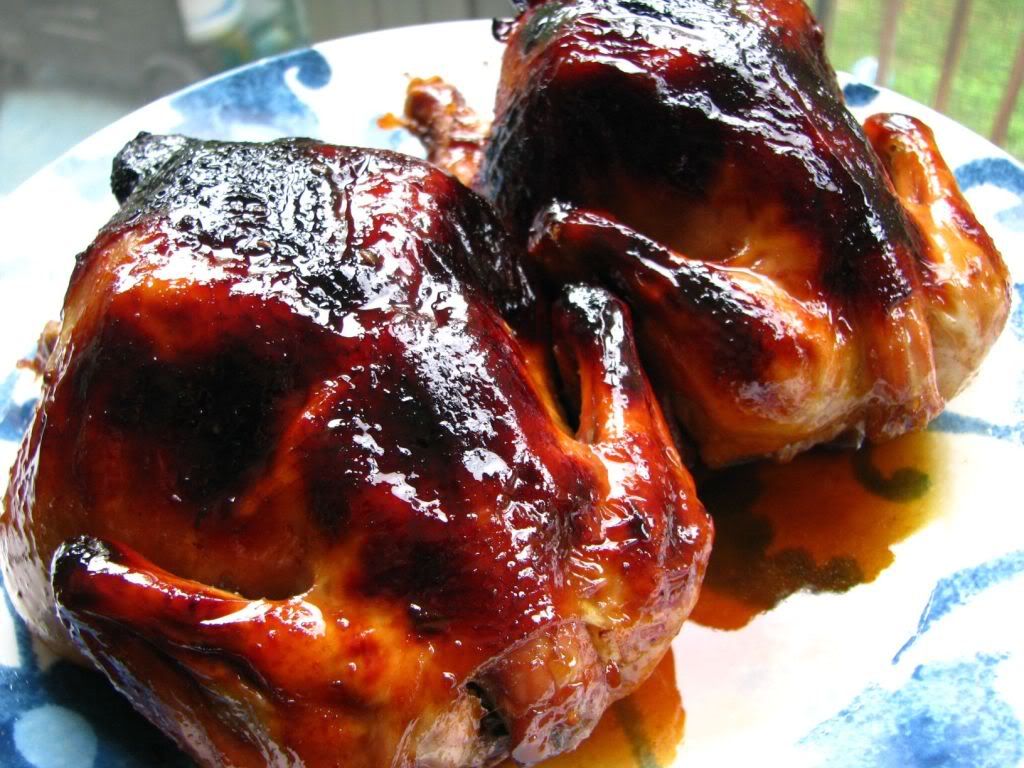
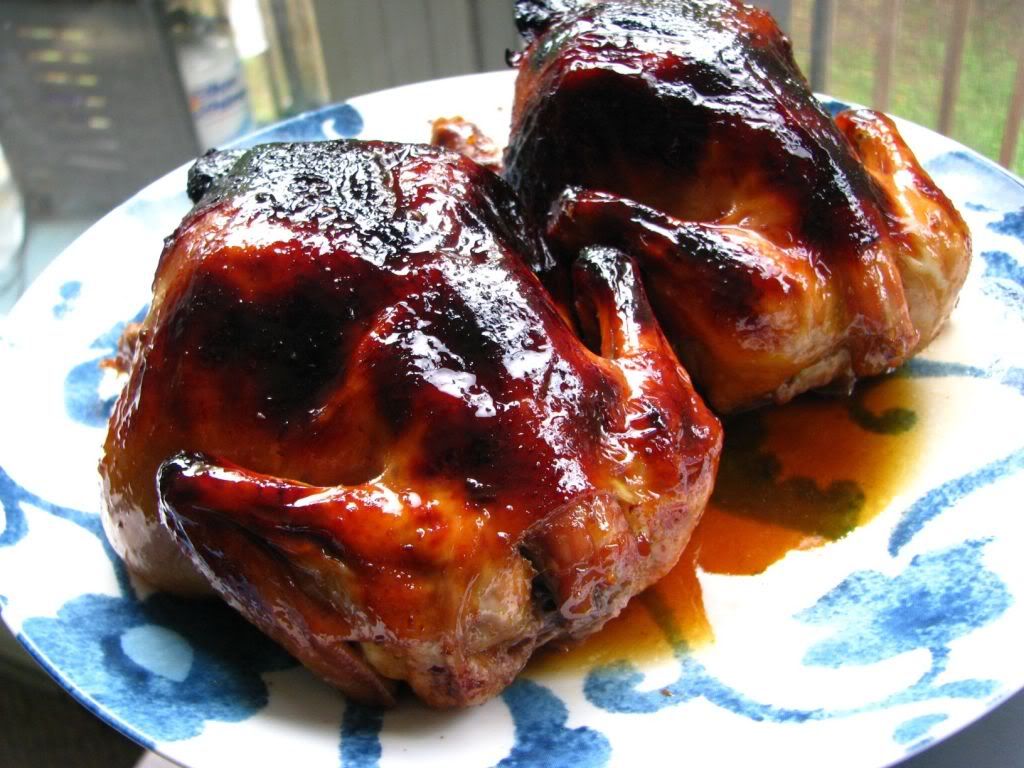
Pour mixture over hens. You can also baste them a bit before you stick them in the oven. Place in oven, and bake for 1 1/2 hours. Baste Hens every 15 minutes. Hens should have a nice brown tone when they are done. You can also use a thermometer to make sure it is fully cooked.


And there you have it! Once I take the Hens out of the oven I like to drizzle a little more of the sauce mixture over them. This is a very simple and very tasty meal. You can pair this with some roasted or mashed potatoes and a side of veggies. Hope you enjoy!


~Feather
Read more!
Tuesday, April 8, 2008

Recipe of the Day: Quick and Easy Hummus

This is my Hummus recipe that I've kinda tweaked for people wanting to do it but don't have alot of time and exotic ingredients. This is a great snack. Usually, it's sold at Greek restaurants with a pita bread, but it also tastes great with a tortilla for a light snack.

Quick and Easy Hummus
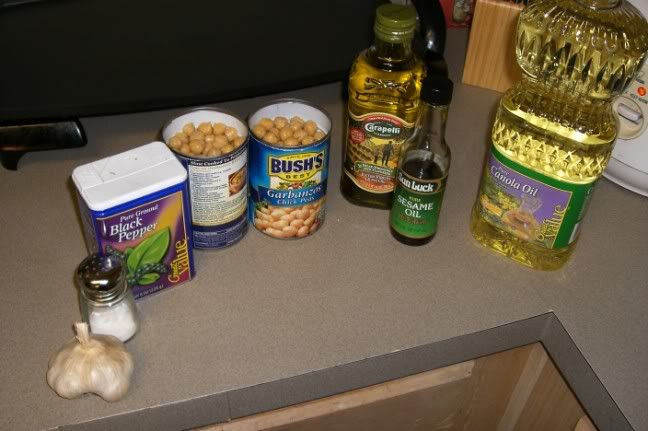
  • 2 15-oz cans of Garbanzo beans (chickpeas), drained and rinsed
  • 4 garlic cloves, pre-minced and mashed unless you have a food processor.
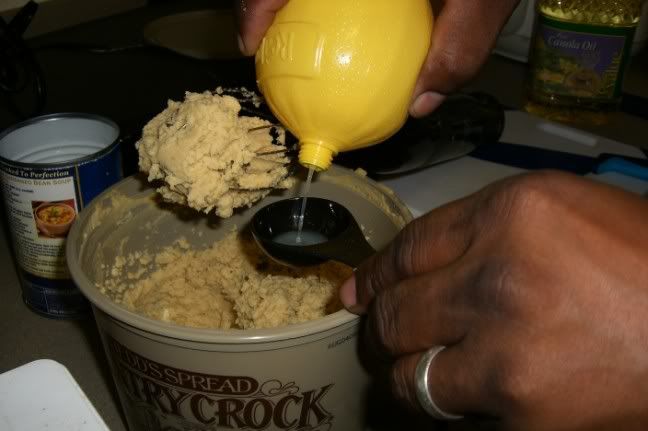
  • 1/3 cup freshly squeezed lemon juice (Real Lemon is fine)
  • 1/4 cup olive oil (Can use regular vegetable oil or canola oil if it's all you have)
  • 2 teaspoon of salt (or more according to taste)
  • half teaspoon of pepper (or more according to taste)
  • 2 teaspoon of sesame seed oil (Optional)


If you're using a food processor, you can throw the garlic cloves in with your first handful of garbanzo beans. This helps the food processor whip the garlic better.


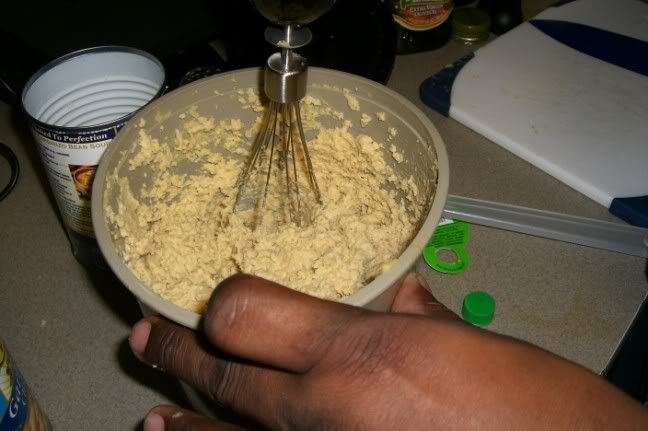
This recipe works better if you have a food processor, but it's NOT necessary. The main task with hummus is getting the beans from a solid state, to a mushy state. You can accomplish this any way you'd like. You can use a food processor, mortar and pestal, potato masher, A spoon against the side of a bowl. You might want a mixer to mix all the ingredients near the last part though.

After getting your Garbanzo beans mashed or processed til it's smooth, mix in the rest of the ingredients: minced garlic, lemon juice, oil, sesame seed oil. Mix it all together until it's nice and smooth. If you want it a little thinner, you can add more lemon juice or even water (very little). You can mix it with a hand mixer.


After it's nice and smooth, season to taste with salt and pepper.


That's it!


Enjoy!

Feather's Commentary: JP's hummus is always perfecto!!! I'm serious, his flavors are always spot on! We always make a large tub, because we love this stuff. It goes good with warm flat bread, and even warm tortillas!

Read more!

Tuesday, March 11, 2008

Recipe of The Day: Prince Burritos

Our all time obsession, burritos! There are so many different ways we make these. I just want to share a quick and easy recipe we enjoy. Very simple, and it can be modified to your liking.


Ground Beef Burritos

Prep Time:20-30 minutes
Cook Time:30-35 minutes
Servings: Feeds a family of four


You will need:
Ground Beef (if you don't like ground beef you can use whatever meat you like)
Shredded Fiesta Mix Cheese
Mrs. Renfros
2 Avocados
Half a medium tomato
1 onion
1 lime
1 packet Taco Bell Chipotle Season
1 pack Large Tortillas
Sour Cream
Rice
Black Beans
Cumin
Salt, Pepper and Garlic Salt

Ingredients:

Meat filling:
1lb ground beef
1 onion
1 package Taco Bell Chipotle Taco Season

Chop onion. Brown ground beef and onion in saute pan. Follow directions on season packet. Place meat to the side, once done cooking. I like to place it into a bowl.

Black Beans:
1 can Goya Black Beans
1/4 cup onion
1 half of lime
1/4 tsp cumin
1/2 tsp garlic salt
1/2 tsp pepper

Mix all ingredients in pot and let simmer until beans are nice and tender. I usually start them off on medium heat and then finish off on low.

Home Made Guacamole:
2 Ripe avocados
half of medium tomato
1 lime
1/4 cup finely chopped onion (or whatever you like)
garlic salt, salt and pepper

Mash avocado...to where it's still has a good chunky consistency. Chop tomato and onion. Mix in with avocado. Squeeze lime juice over mixture. Add in garlic salt, salt and pepper. Mix well and refrigerate until ready for use.


Prepare any type of rice. We use plain white rice. Yellow rice tastes good too!

Warm tortillas shells. Place a good helping of the ground beef mixture on your tortilla. Then place in some black beans. Add your rice. A dollop of sour cream and guacamole. A good helping of cheese. Mrs. Renfros to top it off. Wrap. Your ready to eat!

Look at 'em. They love it. (Burrito Night July 2007)


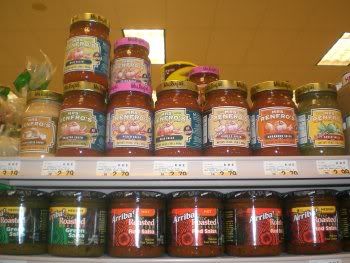
For reference here is a picture of Mrs. Renfros. We can only find it at Publix here in South Carolina. In Texas, where this picture was taken. We found it in a regular old grocery store. Good stuff if you can find it. Make sure you get the green one!


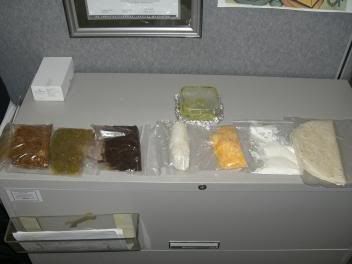
And on a funny note....I usually pack JP's lunch with leftovers from the night before. I made burritos, and I usually add in extra so he can share. For some reason when I packed his lunch I put everything in zip lock bags. LOL He's like, "How am I supposed to heat this up...get the stuff out?" Ooops! Maybe I should of threw in some containers or some plates. I guess it wasn't really convenient. :)
Hope you enjoy the burritos as much as we do! Read more!